


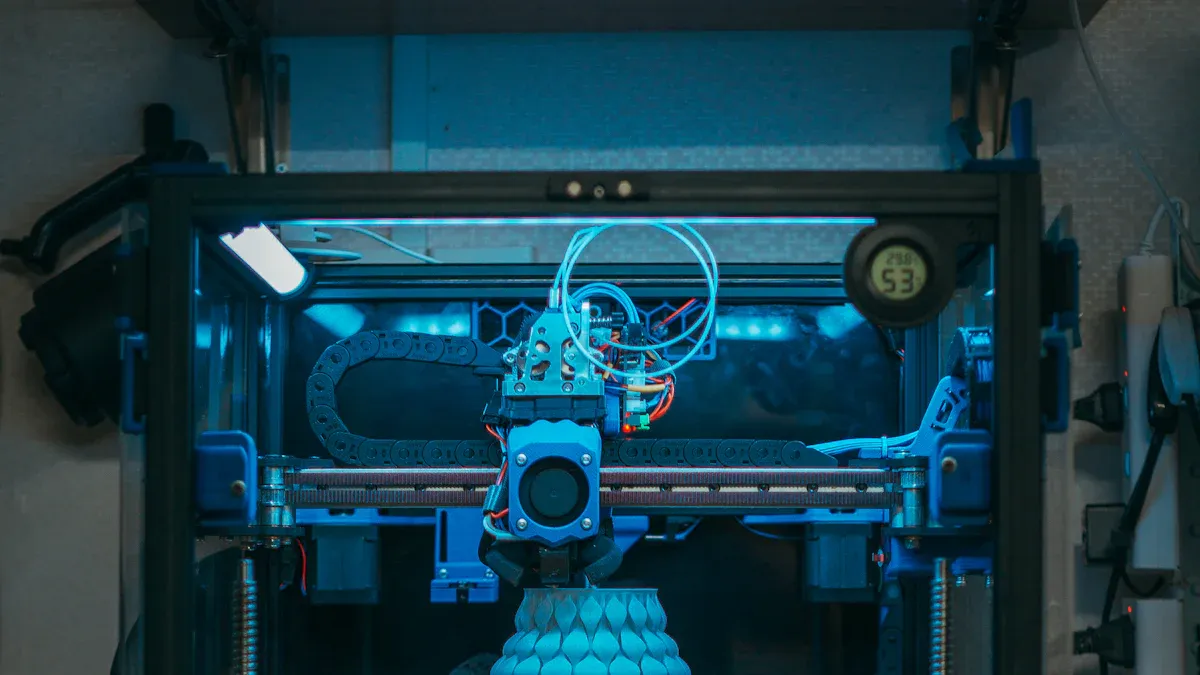
If you're curious about 3D printing but don't know where to start, an open source 3D printer might be the perfect entry point. It’s all about sharing designs and ideas freely, which makes it super beginner-friendly. You’ll find open source 3D printers especially appealing because they’re affordable and flexible. For instance, Fused Filament Fabrication (FFF), the most common type of 3D printing technology, is often the cheapest option out there. Plus, you’ll have access to a vibrant community eager to help you troubleshoot problems or share tips.
What’s even better? It’s a hands-on way to learn and unleash your creativity. You’ll get to experiment with designs, tweak settings, and watch your ideas come to life. Whether you want to make something practical or just fun, open source 3D printing offers endless possibilities.
Key Takeaways
- Open-source 3D printers are cheap and easy to use. You can even make one yourself to learn more.
- Join online groups for help and tips. Talking to others can teach you faster and solve problems easily.
- Begin with easy projects to gain confidence. Small tasks, like printing a keychain, will get you ready for harder designs.
- Try different materials and settings. Using various filaments helps you learn and makes prints better.
- Always set up and adjust your printer correctly. A well-tuned printer gives better results and avoids common problems.
Understanding Open Source 3D Printing
What is open-source 3D printing?
Open-source 3D printing is all about sharing. It’s a movement where designs, software, and even hardware plans are made freely available for anyone to use, modify, or improve. This approach encourages collaboration and makes 3D printing more accessible to everyone, especially beginners.
The concept gained traction with the launch of the RepRap project in 2005. This initiative aimed to create a low-cost, self-replicating 3D printer. It laid the foundation for the open-source 3D printing community we see today.
“The RepRap phenomenon has given rise to a whole new sector of commercial, entry-level 3D printers, emphasizing the ethos of Open Source developments for 3D printing and keeping commercialization at bay.”
Benefits of open-source 3D printers for beginners
Why should you start with an open-source 3D printer? Here are some reasons:
- Affordability: Open-source printers are often cheaper than proprietary models. You can even build one yourself if you’re feeling adventurous!
- Flexibility: You’re not locked into specific software or materials. You can experiment and customize your setup.
- Community Support: There’s a huge online community ready to help. Whether you’re troubleshooting or looking for tips, you’ll find plenty of resources.
The history of 3D printing also shows how open-source has made this technology more accessible:
- 1980s: 3D printing began as a high-cost, low-volume technology.
- 2005: The RepRap project made 3D printing affordable and open to everyone.
- 2009: The expiration of the FDM patent led to a drop in printer prices.
- 2014: The industry hit $1 billion in revenue, showing its growing popularity.
How open-source fosters innovation and collaboration
Open-source 3D printing thrives on collaboration. Online communities play a huge role in driving innovation. These platforms allow enthusiasts to share designs, techniques, and even entire projects.
For example, low-cost, open-source 3D printers are helping small businesses in developing countries create products tailored to local needs. This approach not only fosters creativity but also empowers individuals to solve real-world problems.
By joining these communities, you can learn from others, contribute your ideas, and even collaborate on exciting projects. It’s a great way to grow your skills while being part of something bigger.
3D Printing Basics: Tools and Resources
Choosing an open-source 3D printer
Picking the right open-source 3D printer can feel overwhelming, but it doesn’t have to be. Start by thinking about your budget and what you want to create. Many affordable models, like Anycubic and Elegoo Mars, offer accuracy comparable to high-end printers. These budget-friendly options are perfect for beginners and can handle most projects with ease.
If you’re looking for precision, especially for detailed designs, some advanced models like the Envisiontec D4K Pro or Ackuretta Sol stand out. They excel in accuracy, particularly in the X and Y dimensions. However, even budget printers can deliver exceptional results, proving that you don’t need to spend a fortune to get started.
Tip: Check online reviews and forums for user experiences. The 3D printing community is full of insights that can help you make the best choice.
Essential software for 3D printing
Software plays a huge role in your 3D printing journey. You’ll need a slicer program to convert your 3D model into instructions your printer can understand. Popular options include Cura and Simplify3D. These programs let you adjust settings like layer height, print speed, and infill patterns, which directly impact the quality of your prints.
Advanced features, like support generation, can make a big difference when printing complex designs. Experimenting with different slicers can help you find the one that works best for your needs.
Tip: Start with free software like Cura. It’s beginner-friendly and packed with features to help you learn the basics of 3D printing.
Where to find 3D models and designs
Finding the right 3D model is easier than you think. Many online platforms offer free and paid designs for all kinds of projects. Here’s a quick look at some popular resources:
|
Source Name |
Description |
Link |
|---|---|---|
|
Largest provider of electronic component libraries with verified CAD models. |
||
|
Online platform for 2D and 3D CAD models from leading manufacturers. |
||
|
Provides 2D and 3D CAD models for various engineering applications. |
||
|
Resource for electronic component CAD models, specializing in custom models. |
||
|
Provider of CAD models and component information for PCBA designers. |
||
|
Supplies 3D CAD parts libraries with supplier-certified models. |
These platforms are treasure troves for beginners. Whether you’re looking for a simple design or something more advanced, you’ll find plenty of options to explore.
Tip: Start with free designs to practice your skills before moving on to more complex projects.
Materials and tools needed for printing
Before you dive into 3D printing, you’ll need to gather the right materials and tools. These essentials will set you up for success and help you create high-quality prints without frustration.
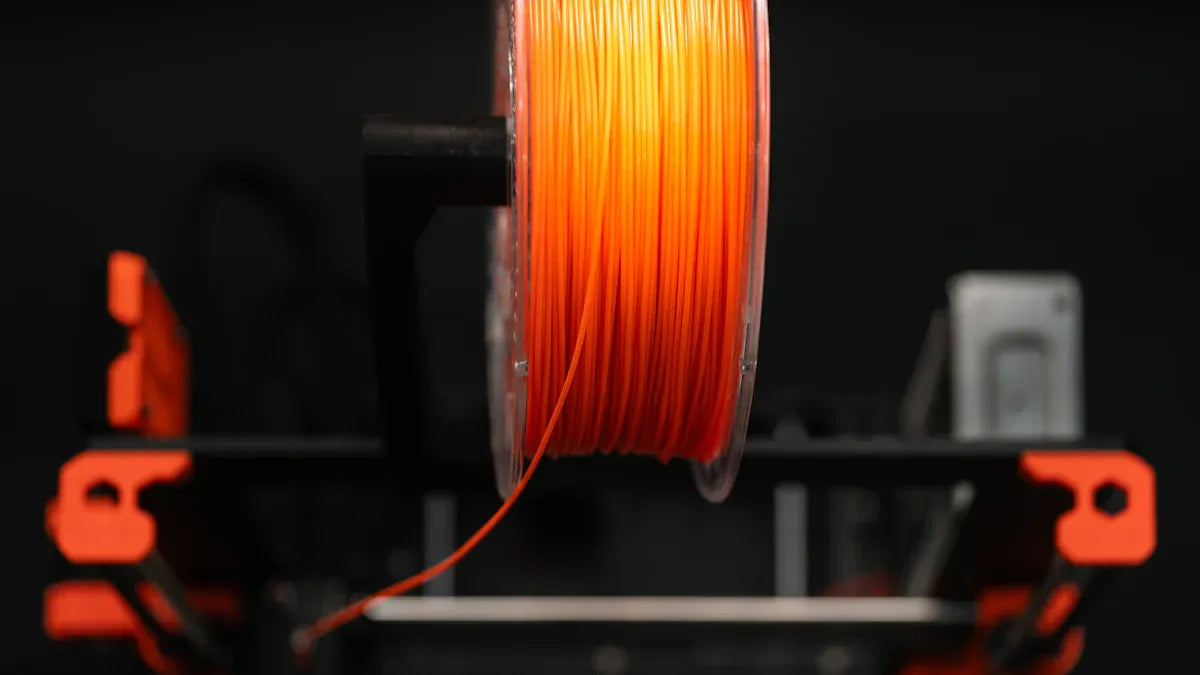
Filaments: The Backbone of Your Prints
Filaments are the raw materials your printer uses to create objects. Choosing the right one depends on your project and skill level. Here’s a quick rundown of popular options:
- PLA (Polylactic Acid): Perfect for beginners. It’s biodegradable, easy to work with, and produces smooth prints.
- ABS (Acrylonitrile Butadiene Styrene): Great for durable items. It’s heat-resistant and ideal for automotive parts or functional designs.
- PETG (Polyethylene Terephthalate Glycol): Combines strength and moisture resistance. Perfect for outdoor projects.
- TPU (Thermoplastic Polyurethane): Flexible and tough. Use it for items that need bending, like phone cases or wearable gadgets.
- Nylon: Known for its flexibility and robustness. It’s a top choice for mechanical parts or tools.
Tip: Start with PLA if you’re new to 3D printing. It’s forgiving and works well with most open-source printers.
Tools to Keep Handy
You’ll also need a few tools to make your printing experience smoother:
- Scraper or Spatula: Helps remove prints from the bed without damaging them.
- Calipers: Useful for measuring dimensions and ensuring accuracy.
- Glue Stick or Painter’s Tape: Improves bed adhesion for tricky prints.
- Nozzle Cleaning Kit: Keeps your printer’s nozzle free of clogs for consistent results.
- Tweezers: Handy for removing small bits of filament or cleaning up prints.
Why Materials and Tools Matter
The materials and tools you choose directly impact your print quality. Factors like resolution, layer adhesion, and surface finish depend on the filament and printer setup. For example, PLA offers excellent layer adhesion, while ABS excels in durability. Tools like calipers ensure precision, and a clean nozzle prevents errors during printing.
Note: Always consider your project’s goals when selecting materials. For functional items, prioritize strength and durability. For decorative pieces, focus on surface finish and detail.
With the right materials and tools, you’ll be ready to tackle your first 3D printing project confidently. Take your time to explore different options and find what works best for you.
Beginner's Guide to Starting with Open Source 3D Printers
Selecting the right printer for beginners
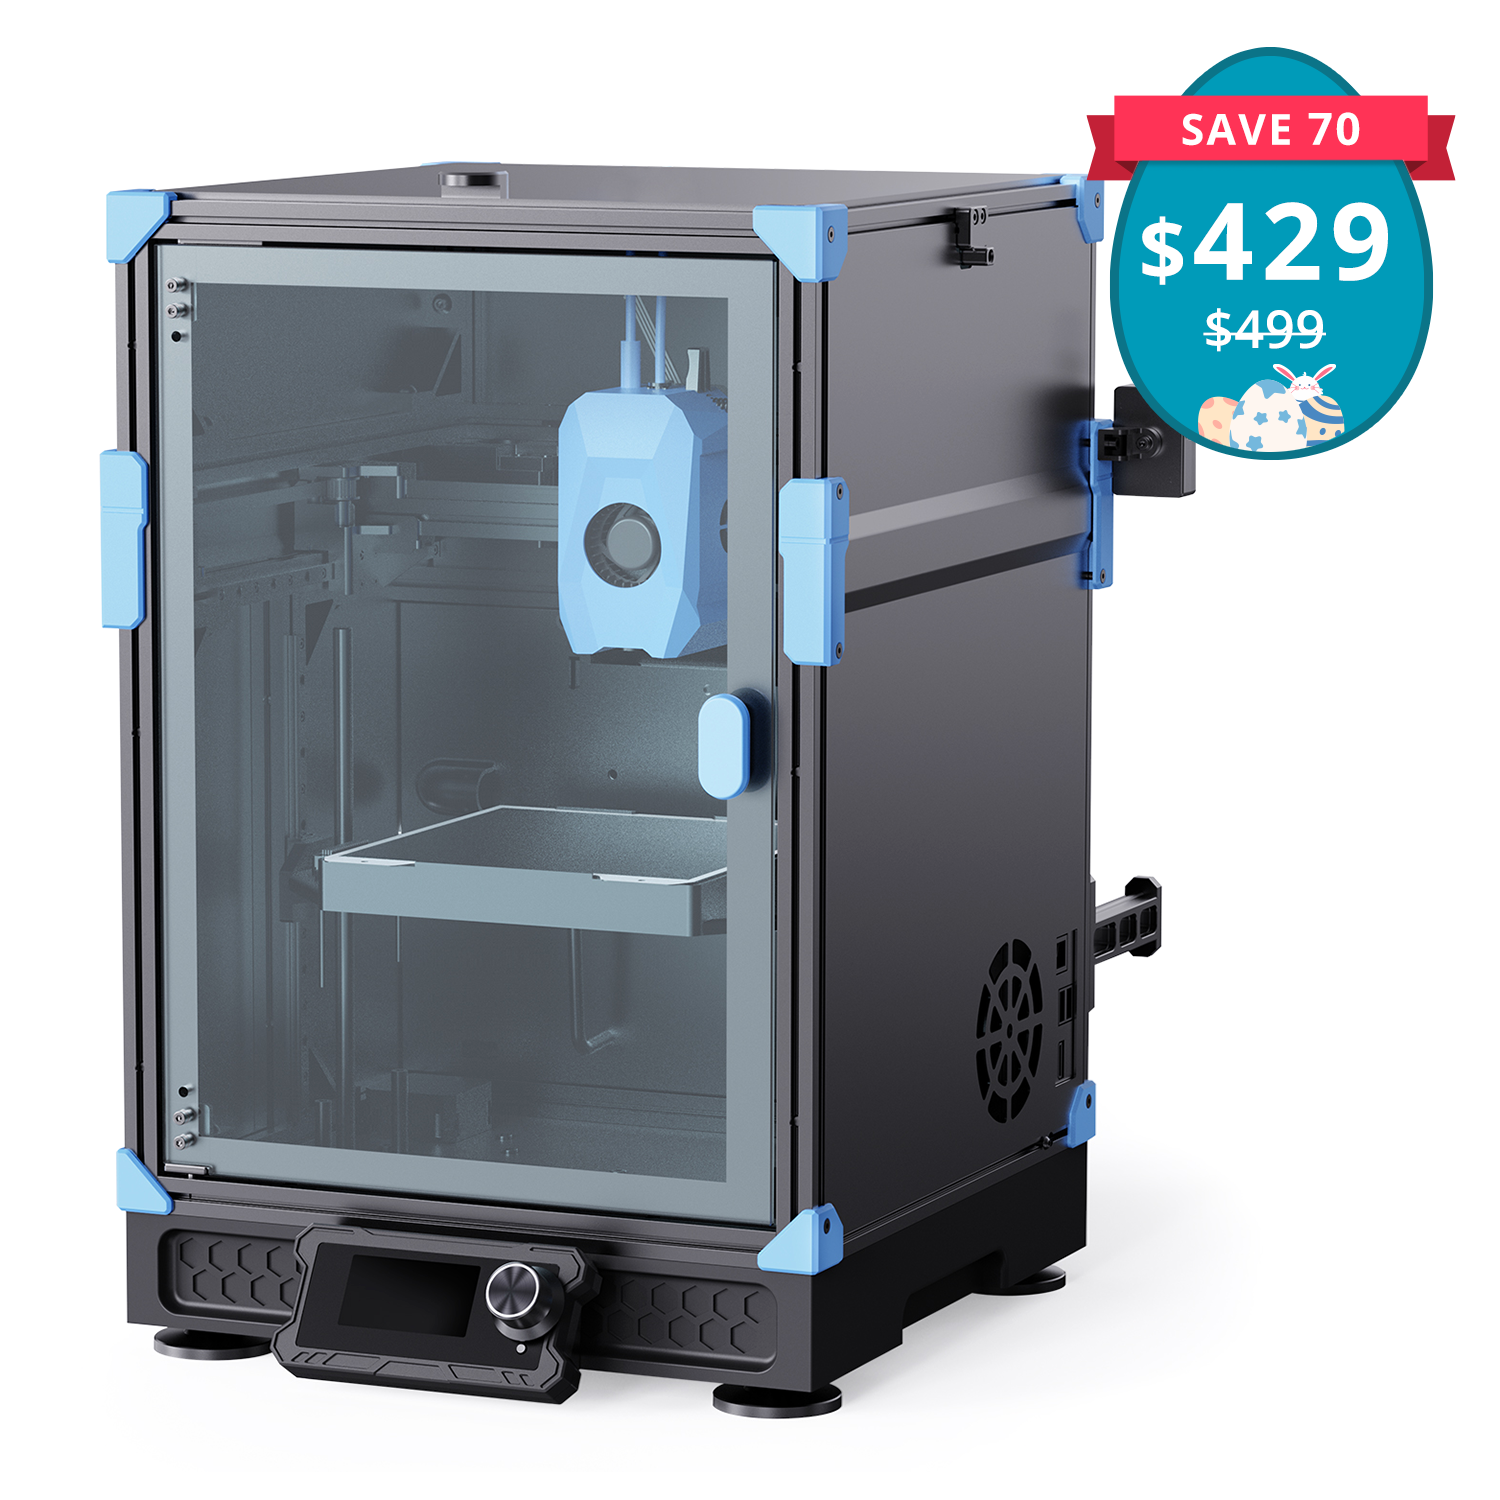
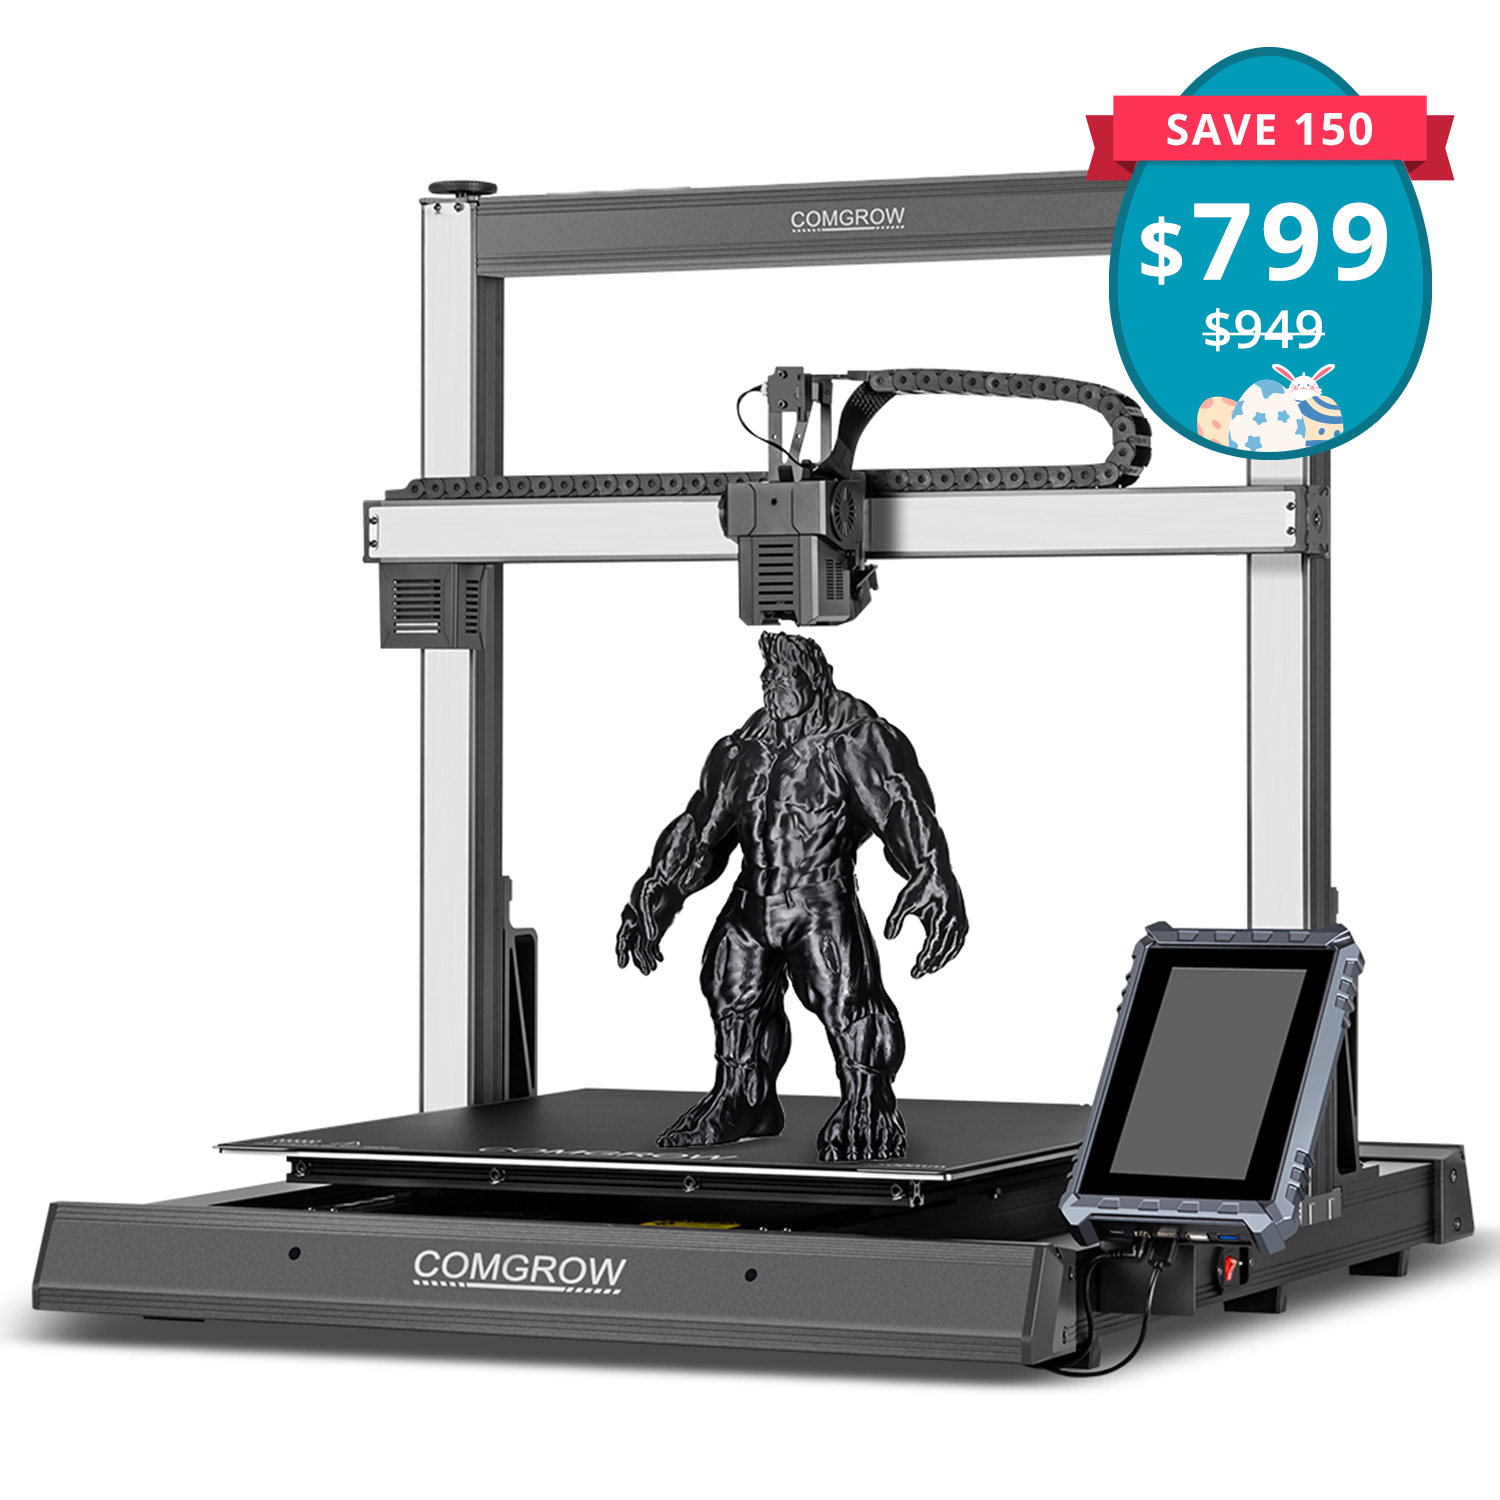
Choosing your first open-source 3D printer can feel like a big decision, but breaking it down into simple criteria makes it easier. Start by considering your budget. Affordable options like the Creality Ender 3 or Prusa Mini+ are great for beginners. They offer excellent value without overwhelming you with advanced features. If you're looking for something more long-term, printers like the Prusa i3 MK3S+ provide upgrade options and reliable support.
Here’s a quick guide to help you decide:
|
Criteria |
Description |
|---|---|
|
Budget |
Look for affordable models, but keep in mind that cheaper printers may have shorter lifespans. |
|
Long-Term Value |
Invest in printers with upgrade paths and strong customer support, like Prusa models. |
|
Community Support |
Choose printers with active online communities for troubleshooting and advice. |
|
Quality of Life Features |
Features like power-loss recovery and filament sensors make the printing process smoother. |
Understanding the components of a printer is also important. Knowing how the extruder, bed, and nozzle work will help you troubleshoot and improve print quality. Take your time to research and pick a printer that matches your needs.
Downloading and preparing 3D models
Once you’ve got your printer, it’s time to find a design to print. Many websites, like Thingiverse or MyMiniFactory, offer free and paid 3D models. Look for files in STL format, as they’re the most common for 3D printing. For example, you could start with a simple design like the popular 3DBenchy boat.
Here’s a step-by-step guide to prepare your model:
- Download a 3D model in STL format.
- Open your slicing software and set up your printer profile.
- Drag and drop the STL file into the slicer.
- Adjust the model’s orientation for optimal printing.
- Add supports if needed for overhanging parts.
- Click "slice" to generate a g-code file.
- Save the g-code to an SD card or upload it directly to your printer.
Proper preparation ensures your print comes out as expected. Take your time to adjust settings and double-check the file before starting.
Using slicing software to prepare prints
Slicing software is a crucial part of the 3D printing process. It converts your 3D model into instructions your printer can follow. Popular options like Ultimaker Cura and PrusaSlicer are beginner-friendly and packed with features. These programs let you control settings like layer height, print speed, and infill density.
Slicing software also improves the likelihood of detecting potential issues. For instance, studies show that sliced files are 5.7 times more likely to identify vulnerabilities compared to original files. This means slicing not only prepares your model but also helps avoid printing errors.
When using slicing software, start with default settings. As you gain experience, experiment with advanced options like support structures and custom infill patterns. This will help you achieve better results and understand how different settings affect your prints.
Tip: Stick to free slicing software like Cura when starting out. It’s easy to use and offers plenty of tutorials to guide you.
Setting up and calibrating your printer
Before you start printing, you’ll need to set up and calibrate your 3D printer. This step ensures your printer works smoothly and produces accurate results. Don’t worry—it’s not as complicated as it sounds, especially for a beginner like you.
Start by assembling your printer if it’s not pre-built. Follow the manufacturer’s instructions carefully. Once assembled, check that all screws and belts are tight. Loose components can cause issues during printing. Next, level the print bed. This step is crucial for proper adhesion and print quality. Most printers come with manual or automatic bed leveling options. If yours is manual, use a piece of paper to adjust the nozzle height until it just touches the paper.
Calibration is the next step. It involves fine-tuning your printer to ensure it prints accurately. Begin with the extruder calibration. Measure how much filament your printer extrudes and adjust the settings if needed. Then, check the X, Y, and Z axes to ensure they move correctly.
A study on low-cost FDM 3D printers showed that proper calibration could achieve an average dimensional accuracy deviation of 0.047 mm. This is more precise than the printer’s published tolerance of 0.1–0.4 mm, proving how effective good calibration practices can be.
Take your time with this process. Proper setup and calibration will save you from headaches later and improve your overall printing experience.
Printing your first object
Now comes the exciting part—printing your first object! Start with something simple, like a cube or a keychain. These designs are beginner-friendly and help you get familiar with the process.
First, load your filament into the printer. Heat the nozzle to the recommended temperature for your filament type, then feed the filament through the extruder. Once loaded, select your prepared g-code file (from the slicing software) and start the print.
Keep an eye on the first layer. It’s the foundation of your print, so it needs to stick well to the bed. If it doesn’t, pause the print and adjust the bed leveling or nozzle height. Once the first layer looks good, let the printer do its thing.
When the print finishes, let it cool before removing it from the bed. Use a scraper if needed, but be gentle to avoid damaging the object or the bed. Congratulations—you’ve just completed your first 3D print! It’s a small step, but it’s the start of an exciting journey into 3D printing.
Overcoming Common Challenges in 3D Printing
Troubleshooting common beginner mistakes
When you’re starting out with 3D printing, mistakes are inevitable. But don’t worry—most issues have simple fixes. Here are some common problems beginners face and how to solve them:
- Filament runout: If your printer stops mid-print, check the filament spool. Always ensure you have enough filament before starting.
- Print not sticking to the bed: This happens when the bed isn’t level or clean. Use a glue stick or painter’s tape for better adhesion.
- Messy first layer: A poorly calibrated bed or incorrect nozzle height can cause this. Re-level the bed and adjust the nozzle height.
- Leaning prints: If your prints look tilted, check the X and Y axes for proper alignment.
- Supports falling apart: Weak supports can ruin overhangs. Increase support density in your slicing software.
- Messy overhangs: Lower the print speed or add supports to improve overhang quality.
By addressing these issues, you’ll see a noticeable improvement in your prints.
Tips for bed leveling and print settings
A well-leveled bed is the foundation of successful 3D printing. Follow these steps to get it right:
- Bed Leveling and Calibration: Use a piece of paper to adjust the nozzle height until it just touches the bed.
- Nozzle Temperature: Set the temperature based on your filament type. For PLA, aim for 190-220°C.
- Bed Temperature Control: Keep the bed at around 60°C for PLA to ensure good adhesion.
- First Layer Speed: Slow down the first layer speed to 20-30% of the normal speed.
- Extrusion Width and Layer Height: Increase these settings slightly in your slicing software to improve bonding.
These adjustments can make a huge difference in print quality. Take your time to experiment and find what works best for your setup.
Maintaining your 3D printer for consistent results
Regular maintenance keeps your printer running smoothly. Here’s a quick guide:
|
Maintenance Aspect |
Benefit |
|---|---|
|
Scheduled Maintenance |
|
|
Real-Time Monitoring |
Cuts overall maintenance costs by up to 30%. |
|
Historical Data Analysis |
Improves equipment uptime by as much as 51%. |
|
Enhanced Reporting |
Prevents up to 82% of typical asset failures. |
Use a maintenance schedule to clean the nozzle, check belts, and lubricate moving parts. Tools like a CMMS (Computerized Maintenance Management System) can help you track maintenance tasks and even reorder supplies automatically. A well-maintained printer ensures consistent results and extends its lifespan.
Tips for Success in Open Source 3D Printing
Start with simple projects to build confidence
When you’re just starting, it’s best to keep things simple. Choose beginner-friendly projects that help you learn the basics of how to 3D print without feeling overwhelmed. For example, printing a small keychain or a basic cube can teach you about bed leveling, filament loading, and slicing software settings. These small wins build your confidence and prepare you for more complex designs.
Here are some examples of how simple projects can help you grow:
- A project like creating a 3D-printed record shows how practical 3D printing applications can be.
- Converting audio files into 3D models demonstrates the technical skills you’ll develop.
- Using open-source slicing software like Cura highlights how accessible these tools are for beginners.
Starting small allows you to focus on learning one step at a time. As you gain experience, you’ll feel more comfortable experimenting with advanced techniques.
Join online communities for advice and support
You don’t have to figure everything out on your own. Joining online communities is one of the best ways to learn how to 3D print effectively. These groups are full of people who share your passion and are eager to help.
Engaging with these communities offers several benefits:
- You’ll learn faster by asking questions and getting advice from experienced users.
- Online forums and social media groups provide platforms to share your experiences and seek guidance.
- The collective knowledge of the community becomes an invaluable resource for troubleshooting and improving your skills.
Studies show that these communities foster innovation and camaraderie. They also lower the barriers to entry for beginners, making it easier for you to succeed. Whether you’re stuck on a technical issue or looking for inspiration, there’s always someone willing to help.
Experiment with different materials and settings
Once you’ve mastered the basics, it’s time to experiment. Trying out different materials and printer settings can unlock new possibilities and improve your understanding of 3D printing for prototyping. For instance, switching from PLA to PETG or TPU can teach you how different filaments behave.
Here’s a quick look at how materials and settings impact your prints:
|
Study Focus |
Findings |
Metrics Evaluated |
|---|---|---|
|
Mechanical properties of PLA-based auxetic structures |
Different lattice geometries affect mechanical properties |
Elastic modulus, Poisson’s ratio, tensile strength |
|
Comparison of compression-molded vs. 3D printed PLA |
Tensile strength is comparable, but modulus and failure strain vary |
Tensile strength (59.9 MPa), Modulus (3.33 GPa vs. 3.22 GPa), Failure strain (2.25% vs. 2.11%) |
Experimenting with these variables helps you optimize your prints for specific 3D printing applications. You’ll also discover how to adjust settings like print speed, layer height, and infill density to achieve the best results.
Tip: Keep a notebook to track your experiments. Recording what works and what doesn’t will save you time in the future.
Keep learning and exploring new techniques
3D printing is a constantly evolving field, and there’s always something new to learn. As you gain confidence with your printer, you’ll discover advanced techniques and tools that can take your skills to the next level. Staying curious and open to learning will help you grow as a maker and keep your projects exciting.
One way to keep learning is by exploring new software and features. For example, you could try advanced slicing settings like variable layer heights or custom supports. These options can improve the quality of your prints and teach you more about how your printer works. You might also experiment with design software like Tinkercad or Fusion 360 to create your own models from scratch.
Another great way to expand your knowledge is by following trends in 3D printing education. Many schools and makerspaces are adopting 3D printing as a teaching tool. This trend reflects the growing importance of hands-on learning and innovation. Here’s a quick look at how educators perceive 3D printing:
|
Phase of Hype Cycle |
Teacher Expectations |
Perceived Usefulness |
Barriers to Adoption |
Anxiety Level |
|---|---|---|---|---|
|
Peak of Inflated Expectations |
High |
High |
Low |
Low |
|
Trough of Disillusionment |
Low |
Low |
High |
High |
|
Slope of Enlightenment |
Moderate |
Moderate |
Moderate |
Low |
This table shows how 3D printing is moving toward broader acceptance as educators and learners see its potential.
Finally, don’t forget to challenge yourself with new materials and techniques. Try printing with flexible filaments or experimenting with multi-color prints. Each new challenge will teach you something valuable and keep your 3D printing journey fresh and rewarding.
Tip: Set aside time each week to learn something new about 3D printing. Whether it’s watching tutorials or testing a new filament, every small step adds up!
Open-source 3D printing offers an exciting way to learn, create, and innovate. You’ve seen how to choose the right printer, prepare models, and troubleshoot common issues. Now it’s your turn to dive in!
Remember: Start small, stay curious, and don’t be afraid to make mistakes.
Patience and practice are your best tools for success. Join online communities, share your progress, and learn from others. With time, you’ll unlock the full potential of 3D printing and bring your ideas to life. So, why wait? Start your journey today!
FAQ
What is the best open source 3D printer for beginners?
The Creality Ender 3 and Prusa Mini+ are great options. They’re affordable, reliable, and have active communities. These printers let you explore 3D printing without breaking the bank. Plus, they’re compatible with many 3d models and stl files, making them beginner-friendly.
Where can I find free 3d models to print?
Websites like Thingiverse, MyMiniFactory, and Cults3D offer thousands of free 3d models. Most designs are available in stl format, which is perfect for open source 3D printers. These platforms are great for finding inspiration and starting your projects.
How do I prepare an stl file for printing?
Use slicing software like Cura or PrusaSlicer. Import the stl file, adjust settings like layer height and infill, and generate a g-code file. This file tells your open source 3D printer how to create the object. It’s a simple process once you get the hang of it.
Can I use different materials with an open source 3D printer?
Yes! Open source 3D printers support various materials like PLA, ABS, and PETG. Each material has unique properties. For example, PLA is great for beginners, while ABS is more durable. Experimenting with materials helps you learn and improve your prints.
What’s the easiest way to fix a failed print?
First, check your 3d models and stl files for errors. Then, ensure your bed is level and the nozzle is clean. Adjust print settings like speed or temperature if needed. Troubleshooting gets easier with practice, so don’t get discouraged!


Leave a comment
All comments are moderated before being published.
This site is protected by hCaptcha and the hCaptcha Privacy Policy and Terms of Service apply.