Introduction
Getting a good first layer is crucial and it is the most common question for beginners. Leveling the 3d printer is an essential process if you want the foundation of your printing to succeed.
Obviously, it is the first thing to check whenever you have some issue with your prints. You may get frustrated or discouraged if you feel like you are doing it over and over again. That is quite normal. Even the experienced makers need to spend mega time leveling the bed n a brand new printer.
Tips: For a beginner, if you have enough budget, I suggest you choose a printer with Auto Leveling function, it could save you plenty of time. Alternatively, you can install a Bl Touch Auto Bed Leveling Sensor on your printer.
3 signal that you must Level your bed
1. The print is not sticking to the bed
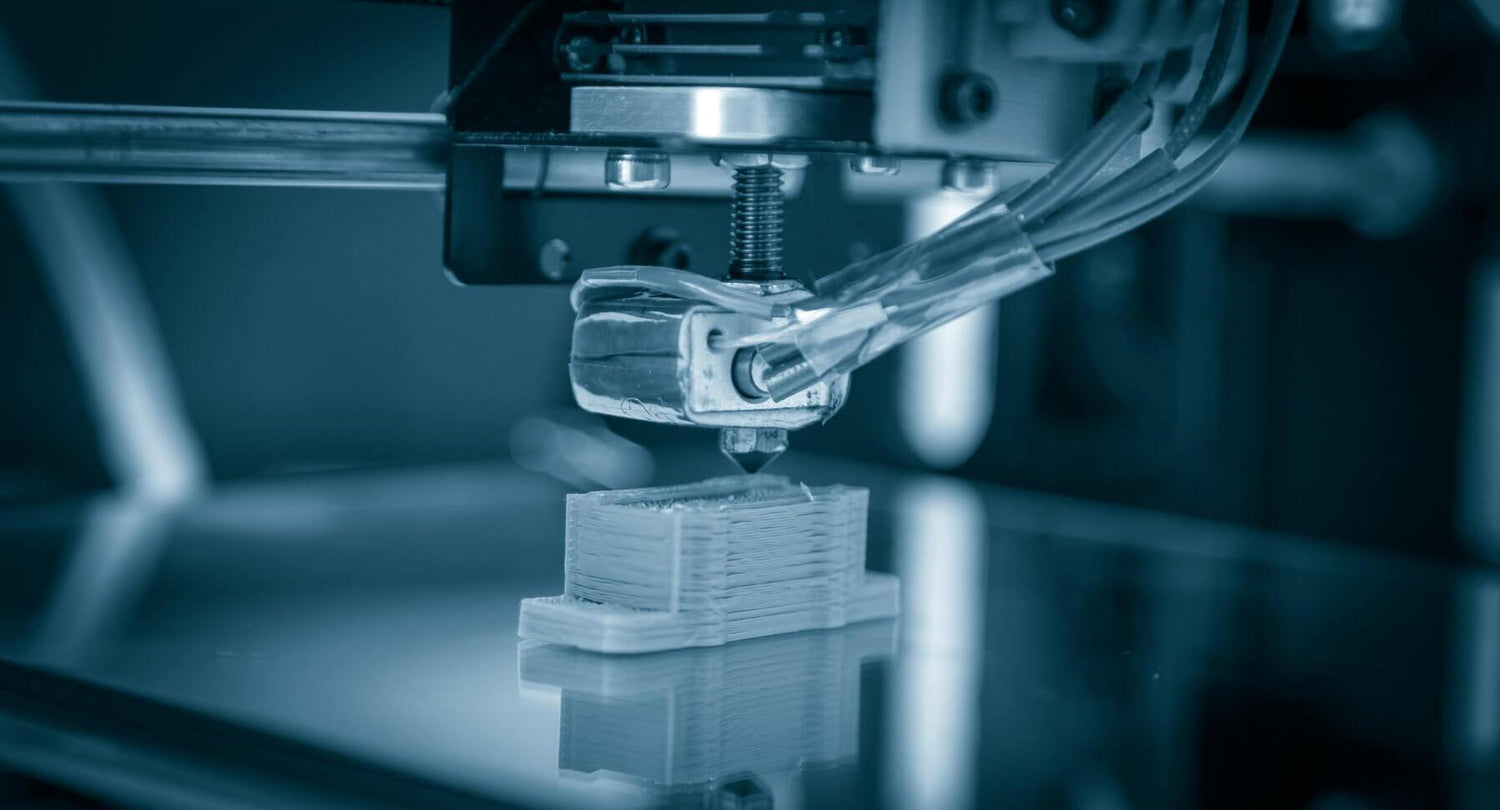
You will need good bed adhesion if you wish to have a great first layer. If the gap is too big between nozzle and bed, it will have trouble sticking to the bed and the filament start to pull up. If bed does not level properly, you will run into issues later even the first layer does stick, and it is even more frustrating!

2. Gaps in your initial layer or the layers are too thin
Your filament is extruded at an even rate if the printer is running smoothly, it is because of the pressure from the filament behind pushing it forward. The resistance to this plastic being pushed is referred to as “back pressure”. When space between bed and nozzle vary from a different place, the filament will flow into changes that vary the resistance of filament flow. It can cause extruder jam, inconsistent extrusion, and gaps in layers.

3. Plastic gathers around when printing the first layers.
If the gap is too small between nozzle and bed, you will get filament build up on the surface. This will result your printing come off the bed later or completely misalign the print.

5 Easy Steps to a level your bed
As a beginner, the purpose of this to confirm your nozzle has the same distance from your build plate at all points. It will ensure that your print comes out evenly.
Every printer is built slightly differently so the instructions may vary slightly, but the general techniques of bed leveling remain the same for most printers.
Before doing anything, please make sure your bed is clean. You can get a bottle of isopropyl alcohol and quickly wipe the bed. Remember doing this before every single print job!
Step 1
Find a piece of paper that is as thick as a regular 8.5 x 11 piece of paper, and put it on the build plate.
Step 2
Most of 3D printer has a leveling knob in each corner that allows you to adjust the height of the bed, tighten the bed bolts or knobs in the corners of printer.
Step 3
Adjust the end stop of the Z-axis until you feel a slight resistance when you try to move the paper underneath the nozzle. If your paper can be moved very easily, it means the nozzle is too far away from plate; if the paper does not move at all, then the nozzle is too close.
Move your paper and nozzle head to all corner and make sure that there is no resistance underneath.
Step 4
You can start to adjust the bed height until there is only tiny resistance on the paper from the nozzle. Repeat this step in every corner of your bed.
Step 5
Repeat this process again as it also affects other corners during adjusting. Each time you re-do this, your adjustment suppose to get smaller and smaller.
Watch this video tutorial if you still have doubts. Bed leveling part is on 8:15.
Other Method to level bed
Set the bed at working temperature, because it expands with heat. For PLA, I recommend setting it between 50 and 60 degrees.
Download bed leveling squares from Thingiverse, and print out. Your goal is to get as smooth surface as you can and all of the squares should look the same.
If your nozzle is too high, the filament will either not stick at all, or you will see gaps between individual lines.

On the other hand, if your nozzle is too low, it will scratch against the first layer. The surface will be rough to touch, or it might even buckle if the nozzle is really low.

Conclusion
Now, You should know the symptom of an uneven bed, make sure fix it at the earliest time before your filament or time is wasted.
If you have any question or inquiry, feel free to contact us via email:info@sovol3d.com, or simply leave the comment below.






Leave a comment
All comments are moderated before being published.
This site is protected by hCaptcha and the hCaptcha Privacy Policy and Terms of Service apply.