


In 2011 the South Dakota School of Mines & Technology received one of the first additive manufacturing (3D printer) DIY kits available for noncommercial applications. The build size was about 200mm cubed and did not have a heated build plate, but I felt that it was the most incredible machine in existence. Though with a $1,800 price tag it was not quite ready to enter every home.
A few years passed, and with the introduction of standardized aluminum profiles I watched the prices plummet to 1/6th of that cost. My intrigue resurfaced, blazing brighter than ever before. I spent my late nights scrimmaging through the plethora of information available with a full list of upgrades occupying my cart for weeks while the search continued.
When the packages began to arrive, I realized how much I did not know. It was a definite struggle to calibrate the machine, but it took months to get the first profile absolutely perfect. To make things worse I changed everything on that machine including the kinematics, heat bed, motherboard, made the firmware, until it was no longer recognizable as the machine I purchased.
I have put in the work, but I would not be where I am today if it was not for the help the the 3D printing community. This is the start of my contribution to all those fallowing this path.
Level the Bed-
First of all the correct terminology is Tram the bed, you need the build plate to be parallel with the nozzle and it has nothing to do with its relation to being horizontal to the earth.
Second when using a sheet of paper to set the distance between the nozzle and build surface this is more of a starting point and not an absolute value.
Third Do not be afraid to make slight adjustments by turning the bed knobs while the skirt or brim is being laid. These slight adjustments may be the difference between failure and success.
A thing to keep in mind is that the first layer height is adjustable in slicer settings and it can either be a percentage of the layer height or an absolute value depending on which slicer is used. First layer heights should remain between 25% to 75% of the Nozzle size. Much of the time these settings are automatically adjusted in the slicer. This setting will determine if that sheet of paper was the correct size.
I hope to help fill in those gaps and to provide a brighter understanding for novice and advanced users alike. To present the information in a way that anyone can learn and gain success on their journey to being a 3D printing Hobbyist.
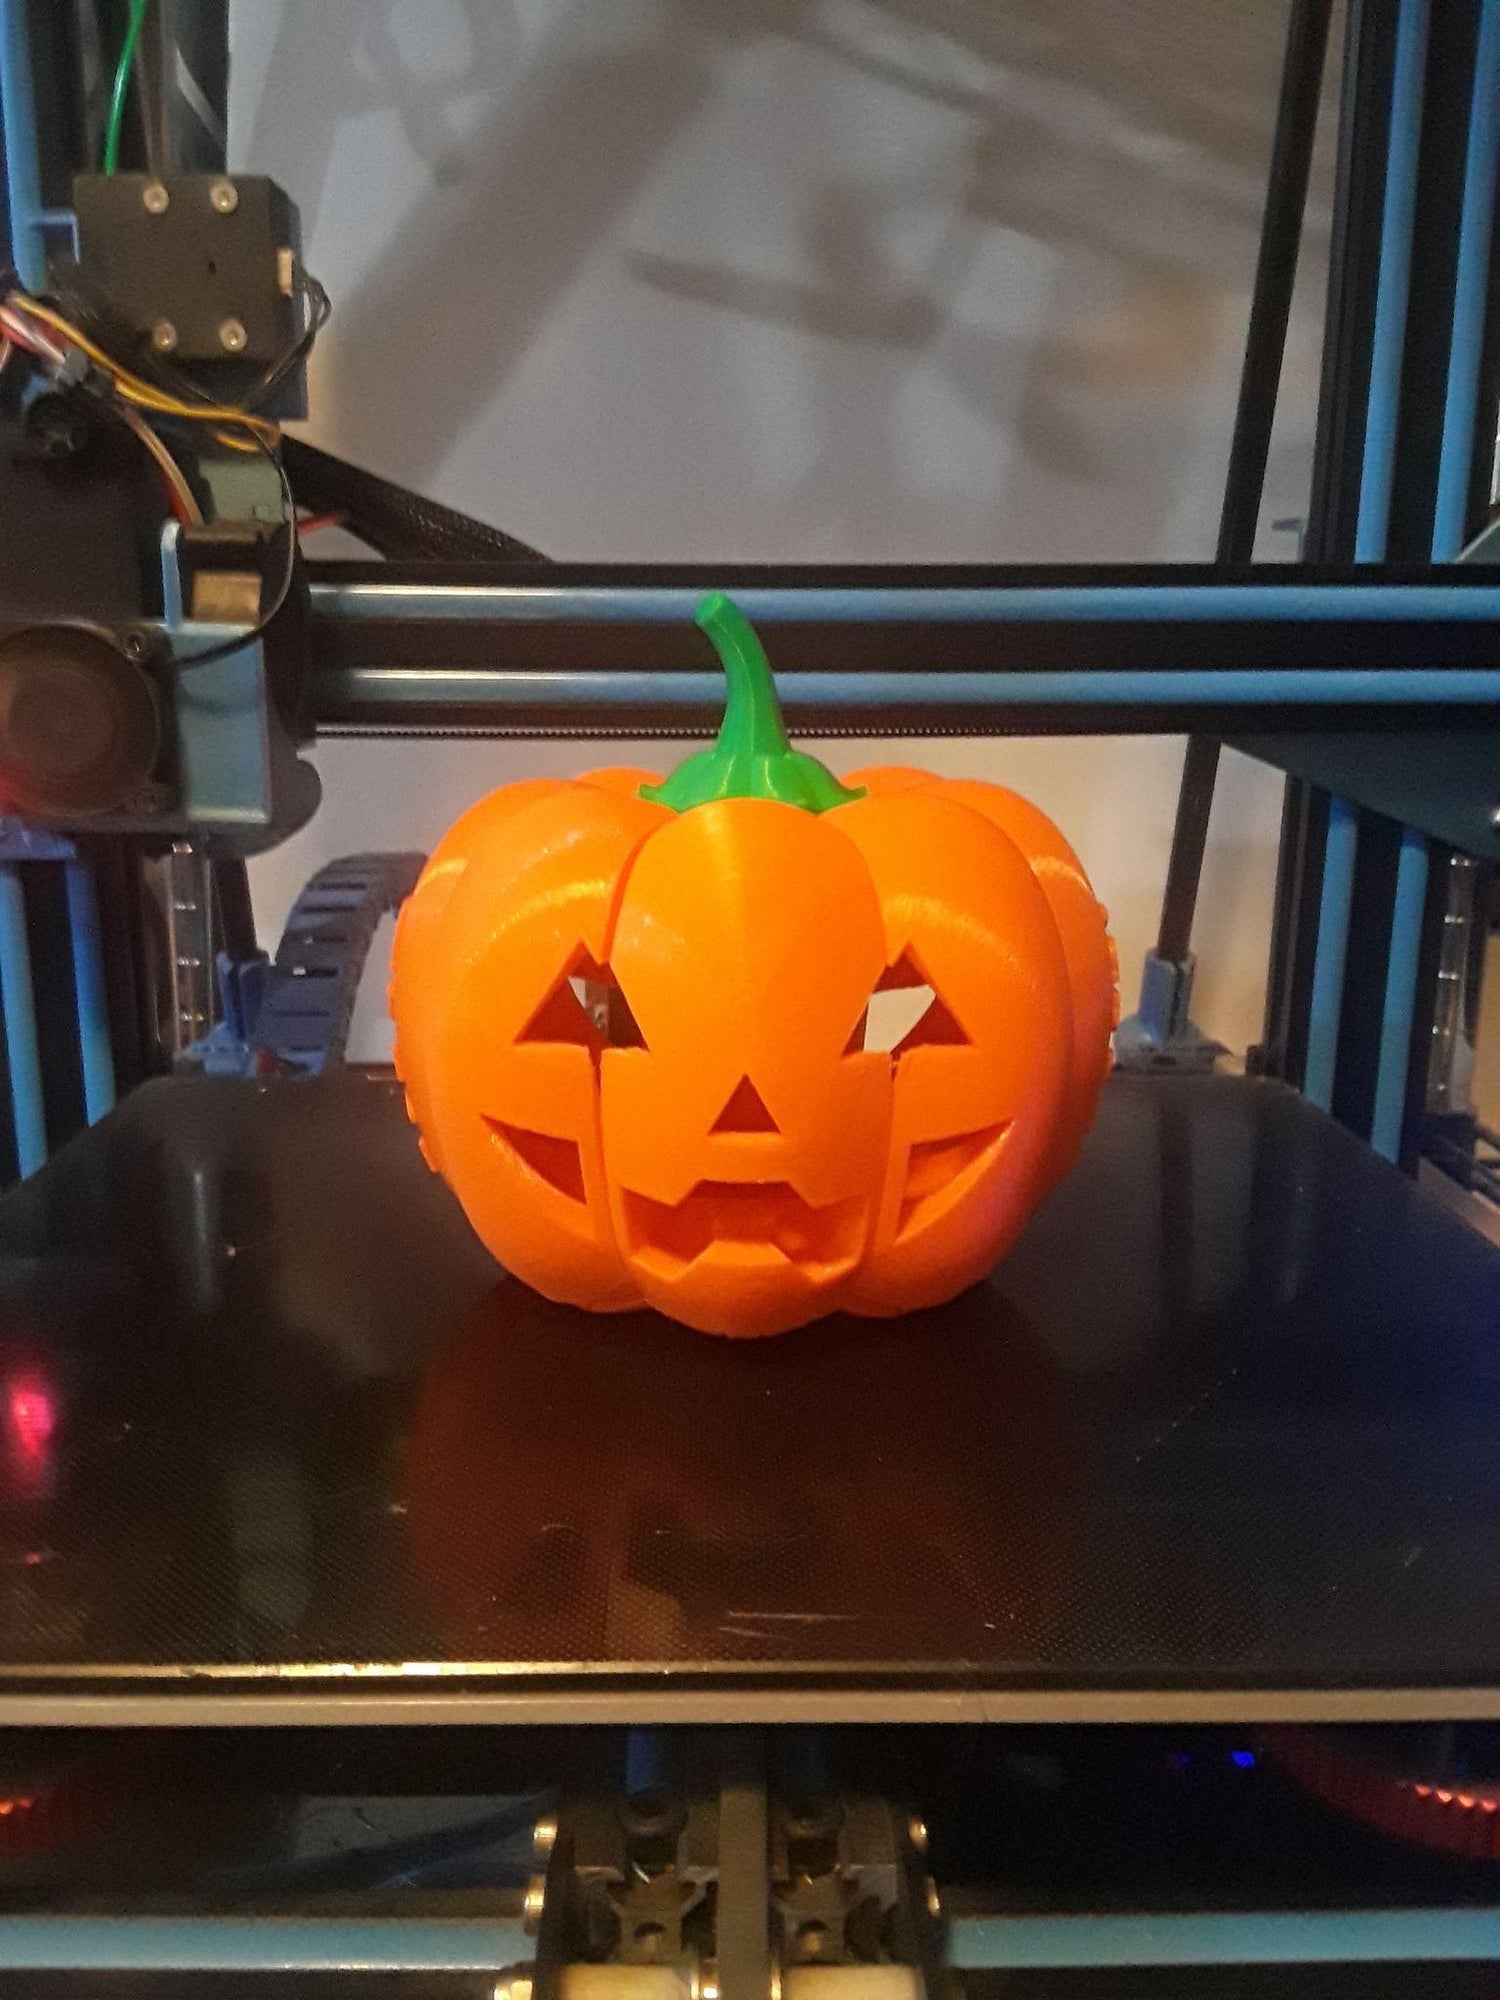
The Foldable Jack-O-Lantern STL was purchased from Fab365.com for $3.49. I am in no way affiliated with Fab365, I am impressed with their foldable designs.
Thank you for reading, Justin Drake

Leave a comment
All comments are moderated before being published.
This site is protected by hCaptcha and the hCaptcha Privacy Policy and Terms of Service apply.