The bed leveling problem
1. First check whether the fixing screws of the beam on the top of the gantry frame (refer to the picture, there are 4 pieces in total) are tightened, and whether there is a tilt in the installation, you can try to use a wrench to reinforce it.

2. Check again whether the fixing screws of the hotbed (refer to the picture) are tightened, you can try to use a wrench to reinforce it.

3. After checking the reinforcement, restore the factory settings first, refresh the firmware, and then try to run Auto Z-align and Leveling Bed, that is, re-leveling.
Firmware: https://sovol3d.com/pages/download
Flash firmware video tutorial: https://www.youtube.com/watch?v=p6l253OJa34&list=PLR9JZRQ01t7lgsgEfBYiTzZKhnPCwkUZ6&index=27
Leveling tutorial: https://www.youtube.com/watch?v=_YOPNDGI8mk&list=PLR9JZRQ01t7lgsgEfBYiTzZKhnPCwkUZ6&index=14&t=11s
4. Disassemble the hotbed part, measure them separately with a ruler, and compare the isolation columns, hotbed and bottom slider plate. Check if the length of the 5 isolation columns (refer to picture) under the hotbed are the same.
Disassembly hotbed tutorial: https://www.youtube.com/watch?v=AD0WjAVfhRc&list=PLR9JZRQ01t7lgsgEfBYiTzZKhnPCwkUZ6&index=29

5. Use a ruler to measure the hotbed and the bottom slider board separately, and check whether three A4 papers can pass through the gap (refer to the picture).

The under-extrusion problem
It may be that the nozzle has a blockage situation or the leveling is not adjusted properly, the nozzle and the hot bed are too close to each other can also have an effect. You can use a needle to clean the filaments that may be blocked on the nozzle under heating, and use the smallest wrench to clean the filaments that may be clogged in the heat break part like sending filaments. First restore the factory settings and then refer to the leveling video for re-leveling.
Leveling video: https://www.youtube.com/watch?v=_YOPNDGI8mk&list=PLR9JZRQ01t7lgsgEfBYiTzZKhnPCwkUZ6&index=15&t=11s
Thermal Runaway and Heating Failure
1. Check whether the heating wire and thermistor wire of the hotbed are firmly plugged in and whether they are damaged.
2. You can change the heating wire and thermistor of the hotbed to the position of the nozzle, and then set the heating to 60 degrees to try. (Because of the exchange, it is necessary to set the heating nozzle, but it is the hotbed that actually heats up.)
3. Please use a multimeter to check whether there is 24V DC voltage output in the position in the picture after operating the hotbed command.

If the print sticks, it reaches some high and then does a massive layer shift like the whole Z assembly is bent because it happen always at the same point and the print fails.
You can slow down the printing speed to print, and then check whether the coupling that fixes the Z-axis motor shaft and the screw rod and the screw that fixes the T-nut of the screw rod are loose. Lock them tightly to ensure that the motor shaft and screw are moving synchronously. Then check whether the screw rod is bent. If it is bent, remove it and put it on the table for comparison with a ruler, and then provide us with a picture of the bend for confirmation.
The heat creep problem (The print fails in some middle points, sometimes higher or lower points.)
1. Because the uneven heat dissipation of bi-metal may cause thermal creep, the temperature of the melted PLA of the bi-metal heat break will be about 10-20 lower than the normal temperature. We have also verified that the nozzle temperature of 175-180° can melt and extrude ordinary PLA normally. You can check whether the retraction distance is too long, the standard is about 0.5mm-0.8mm, and you can also increase the nozzle temperature by 5-10° appropriately for printing.
2. If the nozzle is blocked, you can use a needle to clean the filaments that may be clogged on the nozzle under heating, and use the smallest wrench to clean up the filaments that may be clogged in the heat break part like sending filaments.
3. You can disassemble the extrusion mechanism and clean up the filaments left on the gear. Check whether the extrusion gear is loose and the discharge is not smooth, and lock the screw that fixes the gear. The extrusion is not smooth, and the situation of blockage will affect the printing.
Reference video: https://www.youtube.com/watch?v=mFIRd1ZH81I&t=3s
After a power outage, the display is blank. It powers on and goes to a blank blue screen.
1. You can first remove the screen and put it on the table. Except for the screen cable, keep it away from contact with other metal parts of the machine, and then try flashing the firmware.
2. Refer to the part of flashing the motherboard firmware in the video, and format the TF card and set the format according to the requirements.
Firmware: https://sovol3d.com/pages/download
Reference video:https://www.youtube.com/watch?v=vqaneIsSauM
Collider when goes the auto home
1. The x-axis timing belt is too tight, you need to loosen the timing belt properly.
2. The sensitivity of the x-axis is not appropriate, you can increase or decrease it appropriately.
Reference video: https://drive.google.com/drive/folders/18QIKk514ca-xP7NLjLCiwjyvVsjSfxmE?usp=sharing
No response to the impact for X-axis goes auto home
1. Because it adopts the limitless switch mode, it is normal that occasionally there will be no response to the impact and slow response during the auto home process. Please follow the steps to adjust it.
2. If the belt is too loose or too tight, it will affect the auto home. First adjust the tightness of the belt to an appropriate level (generally, it can move smoothly), and then try to auto home.
3. If there is still no response to the impact or the response is slow, you can increase the sensitivity value of the corresponding direction (X or Y), increase by 1~5 each time, return to the previous level and press save, and then auto home again for testing.
(Operation steps: Configuration→Advanced Settings→TMC Drivers→Sensorless Homing→Store Settings)
Motherboard fan noise
Try to disassemble the cover of the motherboard, and check whether there are foreign objects inside the motherboard fan or abnormal noise caused by cables interfering with the motherboard fan.
The X-rail bearings are noisy and unstable, and there is noise when the z-axis prints quickly.
These are normal phenomena and do not affect printing. The machine itself is like this. If you feel that the friction is too much, you can add a little lubricant.
The Z axis does not run smoothly
1. Check whether the screw fixing the wire rod on the coupling (1 in the picture) is loose, and ensure that the wire rod and the motor run synchronously.
2. Check whether the T-shaped nut (2 places in the picture) is loose, whether there are sundries, and whether the bearing at the optical axis (3 in the picture) has any sundries.
3. Is there any problem with printing random models? Please provide a video of the z-axis not running smoothly when printing.

Coupling cannot be locked
Adjust the position and lock the screws on the coupling tightly (as shown in the picture). The lower screw is to lock the motor shaft, the upper screw is to lock the wire rod.

During auto home, the z-axis direction will only move upwards.
1. Is the sensor light on? If not, check to see if the connection wires are loose.
2. If the light is on, you can initialize the machine and try again.

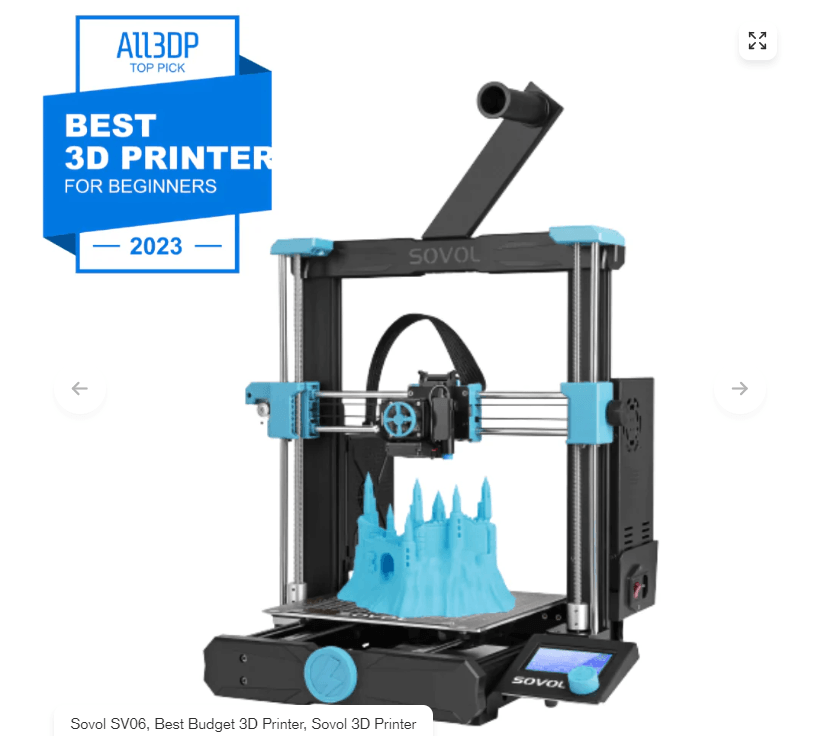
The specifications of the two extruder fans on the SV06 (hot end & parts cooling fans)
Axial flow fan 24V 4010 (wiring with terminals) 4010 Hydraulic axial flow fan 24V 5500 rpm ±15%, 2.5 terminals 100mm outside the red and black frame


Leave a comment
All comments are moderated before being published.
This site is protected by hCaptcha and the hCaptcha Privacy Policy and Terms of Service apply.