






Loose, drooping strands hanging across an open gap are the classic sign of a failed bridge. The printer is trying to lay plastic over thin air, and the filament is falling before it can cool. A bridge is a horizontal span printed with nothing underneath it; an overhang is a wall that leans outward, still partly supported by the layer below. Bridging is a cooling-and-tension problem, not a preset you can copy from a forum, because the right values depend on your fan, nozzle, material and the span you're asking for.
Key Takeaways:
- Cooling comes first: the filament has to harden in mid-air before gravity pulls it down.
- Speed and flow are the next levers, and they fail in both directions (too slow sags, too fast won't stick).
- Change one setting per test coupon and print several copies on one plate.
- Span length and material set the ceiling, so find your own limit with a span ladder.
- Supports still win for long spans, steep overhangs and materials that bridge badly.
What Are 3D Printing Bridges, and How Do They Differ From Overhangs?
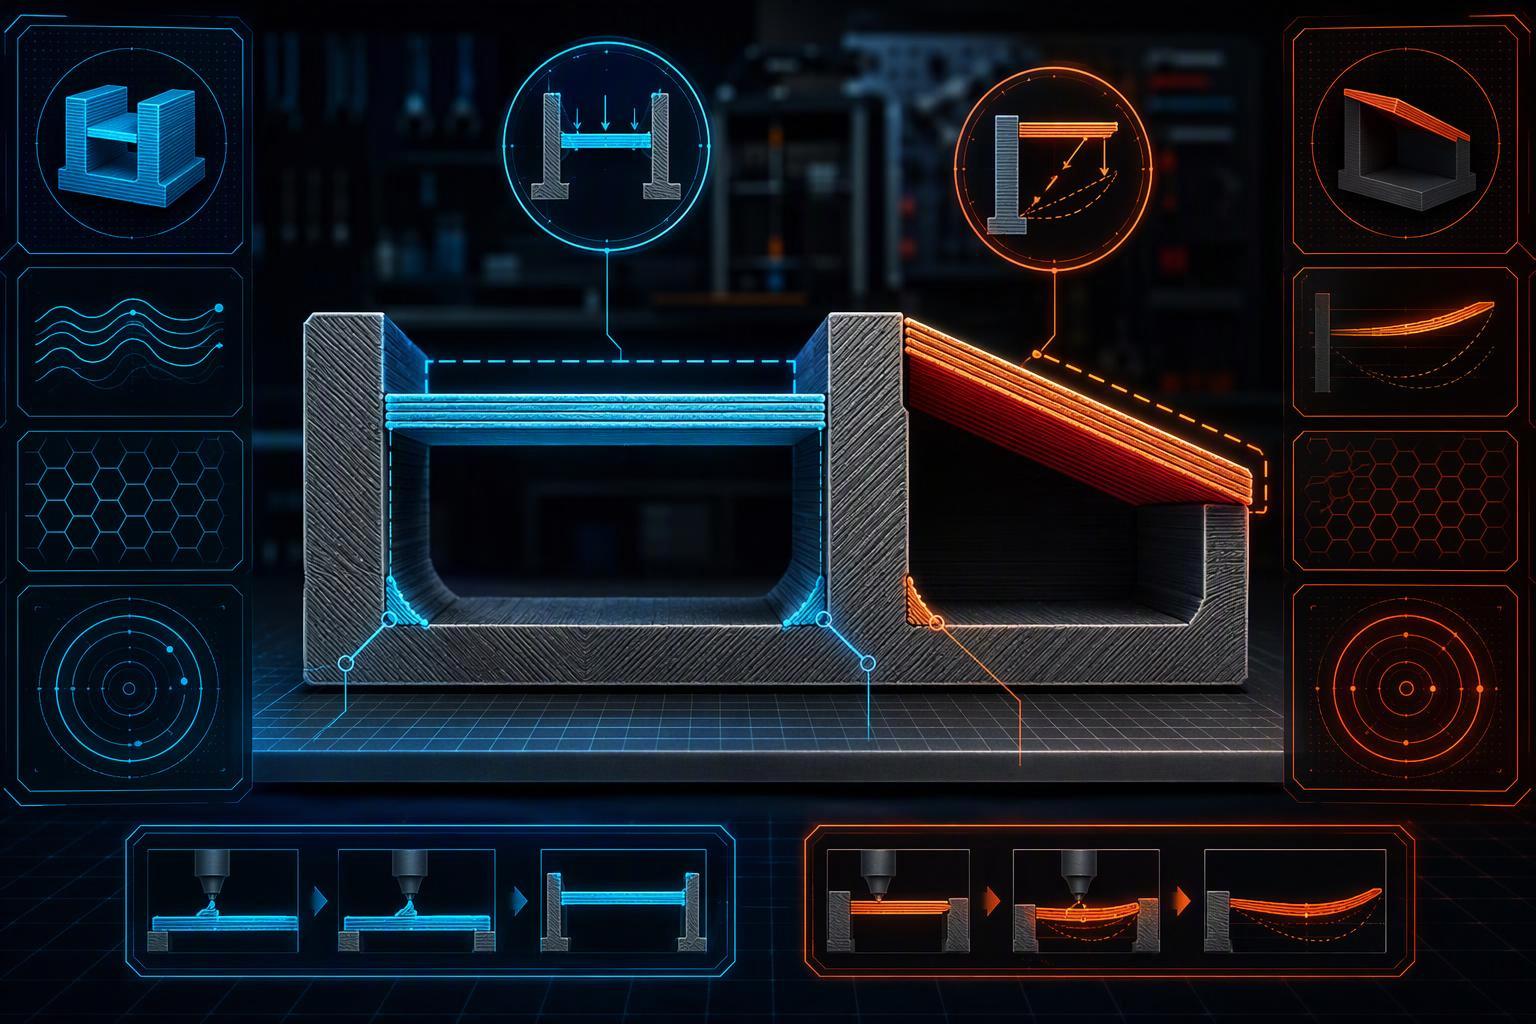
A bridge is a horizontal span printed with no material beneath it, while an overhang is an inclined wall that still rests partly on the layer below. Prusa's poor-bridging troubleshooting page defines bridging as printing layers over thin air without supports, and notes that good results only come over short distances because the fans must cool the plastic mid-air to create a solid connection (Prusa Knowledge Base, current article). Its named failure is simple: sagging or drooping.
The distinction matters because the two shapes are governed by different numbers. Span length is the unsupported distance between the anchors a bridge runs between. Bridge flow is the extrusion multiplier applied to bridge lines, and bridge fan speed is the part-cooling speed forced on while those lines print. PrusaSlicer exposes bridges as their own feature set, with bridge flow ratio under object settings and bridge speed under speed settings (Prusa Knowledge Base, current article). Labels differ between slicers, so match the concept rather than the name.
Overhangs are judged by angle, and Prusa's design guidelines put clean results at roughly 45–60 degrees depending on nozzle and settings, with 360° cooling pushing that higher (Prusa Knowledge Base, current article). A bridge is judged by span and underside quality instead.
Which Settings Actually Control Bridge Quality?
Six levers decide bridge quality, and cooling is the one to set before the others. Successful bridging depends on cooling the filament fast enough that it solidifies in a straight line before gravity pulls it down, which makes weak part cooling the usual cause of sagging.
|
Lever |
What it does |
Where it lives |
What to watch |
|---|---|---|---|
|
Cooling |
Hardens the strand in mid-air |
Filament or cooling tab; "Force Cooling for Overhangs and Bridges" in Bambu Studio |
Fan forced to a set speed on bridge areas only |
|
Bridge speed |
Sets how long the strand stays hot and how hard it is pulled to the far anchor |
Object or print speed settings |
Sag at low speed, dragged or broken lines at high speed |
|
Bridge flow |
Changes material per line and adjusts line spacing to keep contact |
Bridge flow ratio, often under advanced object settings |
Loose lines when too low, bulging when too high |
|
Line width and density |
Sets spacing between bridge lines |
Bridge density, bridge line width |
Overlap and over-extrusion when density goes too high |
|
Layer height |
Sets how thick the bridge line is |
Layer height, thick bridges option |
Longer spans hold with thick bridges, rougher surface |
|
Span and orientation |
Sets the distance and direction of the unsupported run |
Model orientation on the plate |
Longer spans sag more layers |
Bambu Studio's "Force Cooling for Overhangs and Bridges" takes bridge fan speed out of the usual min/max fan logic so the fan is forced to a set speed on those areas only (Bambu Lab Wiki, current page). OrcaSlicer's bridging reference documents bridge density defaulting to 100%; higher settings smooth the surface but risk over-extrusion, and lower settings produce a string-like first layer that cools fast but sags more (OrcaSlicer Wiki, current page).
Every number in this section is a starting point. No universal bridge speed, fan percentage, line width or flow value transfers between machines, because the best values vary with printer, nozzle, material, layer height, cooling and slicer. These figures are examples from specific printers, materials, and test conditions. They should not be treated as universal limits.
Why Do My Bridges Sag, Break, Ripple or String?
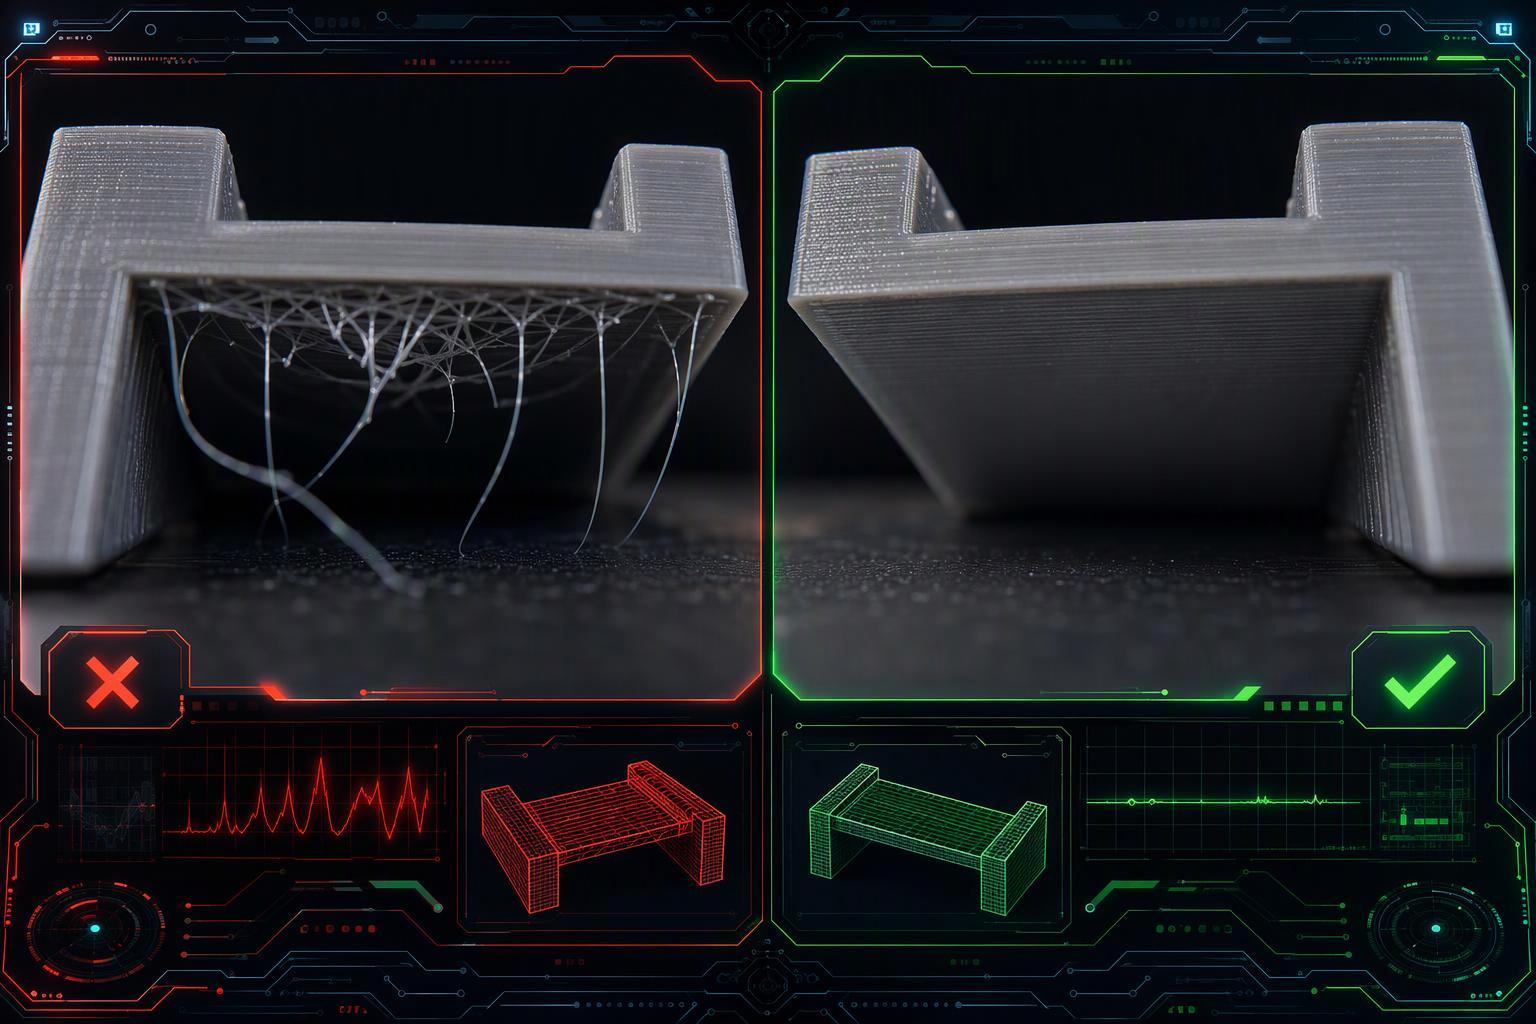
Each bridge failure maps to a different cause, and speed is the one that fails in both directions. Too slow and gravity gets more time to pull the filament down. Too fast and the strand doesn't have time to stick to the far anchor, so it gets dragged.
Published advice points both ways, which is why new printers get confused. Prusa recommends lower driving speed for bridges and lower bridging flow (Prusa Knowledge Base, current article), while OrcaSlicer suggests dropping external bridge speed but raising internal bridge speed over sparse infill (OrcaSlicer Wiki, current wiki). Both are describing different bridge types rather than contradicting each other. Bridge speed may need to be increased or reduced depending on the printer and bridge type. Test both directions with a small bridge model and change only one setting at a time.
Ripple and over-extrusion point at density and flow rather than speed. OrcaSlicer warns that pushing density too high overlaps lines and degrades both the lower and upper surfaces (OrcaSlicer Wiki, current page). Stringing, meanwhile, is usually a material signature: Prusa lists poor bridging as a PETG con and notes the material tends to string, so extra cooling helps prevent oozing (Prusa Knowledge Base, current article).
How Do I Run a Bridge Test Print and Find Settings That Work?
Run a graduated-span bridge coupon, change one variable per copy, and print several copies on one plate so a single job answers several questions. Prusa's own method is to place the bridge test model in the slicer several times and give each copy a different flow, which finds workable settings without many separate prints (Prusa Knowledge Base, current article). Keep the coupons small; each one costs filament and machine time.
- Calibrate the extruder and extrusion multiplier first, so a flow test isn't chasing an e-steps error. Ellis' Print Tuning Guide walks through the order and the test-cube method (Ellis' Print Tuning Guide, current guide).
- Print a span ladder with the fan forced on for bridge areas, and note the span where the underside stops being flat.
- Change bridge flow alone on the next plate, then bridge speed alone on the one after. Record results per spool, since the same profile on a different filament is a different test.
Judge the result from below, not from the top. The pass condition is a flat, connected underside; loose strands that hang separately are a fail even if the top looks fine. Prusa's page also offers two geometry fixes worth trying before more tuning: a support enforcer box placed halfway across a too-long span, and rotating the model to eliminate the bridge entirely (Prusa Knowledge Base, current article).
Why Do Bridge Results Vary Between Printers, Nozzles and Materials?
The same profile bridges differently on two machines because cooling hardware, nozzle size and material all move the limit. One documented Prusa Mini+ test in PLA printed a 10 mm span clean and showed mild sagging at 15 mm, while other users report usable results at longer spans on different hardware (Fab Academy 2024, 2024). These are examples from specific setups, not limits.
Nozzle size raises the flow ceiling but doesn't fix cooling. E3D's volumetric flow data shows how much more a 0.6 mm nozzle can push than a 0.4 mm one, and also warns that advertised hotend flow isn't always reachable once part cooling and motion rigidity are factored in (E3D, current product page). OrcaSlicer's newer releases cap bridge line width near nozzle size for the same reason: lines printed in mid-air have nothing to press against (OrcaSlicer release notes, current beta notes).
Material sets how much cooling the strand can tolerate. Vendor datasheets give fan guidance of "on" for PLA, a mid-range for PETG and "off" for ASA (Bambu Lab PLA Basic datasheet, current datasheet). That's why the hard fan that rescues a PLA bridge can ruin an ASA one — the cooling budget isn't the same.
When Are Supports Still the Better Choice Than Bridging?
Supports win when the span is long, the overhang is steep, the underside must look clean, or the material bridges badly. Wevolver's engineering guide puts conservative FDM bridge length at roughly 5–10 mm without special tuning, and notes that better cooling, lower bridge speed and stiff materials can extend that range (Wevolver, 2026). That's a design rule rather than a hard limit, but it's a sensible default for anything that has to work first time.
There's also a hidden interaction worth knowing. The first solid layer above supports uses bridge settings, so tuning bridges changes how supported overhangs look — Prusa notes that very thick bridge lines were reliable but ugly, and its newer default favors surface quality over long spans (Prusa Knowledge Base, current article). Run one small coupon before your next real part. If it fails at the span you need, supports or a reorientation are the honest answer, not a failure.
Frequently Asked Questions
What is a good bridge speed for 3D printing?
There's no universal bridge speed, and published advice points both ways depending on the bridge type. Prusa recommends lower bridge speed (Prusa Knowledge Base, current article), while OrcaSlicer reduces external bridge speed but increases internal bridge speed over sparse infill (OrcaSlicer Wiki, current wiki). Test both directions on a small bridge model and change one setting at a time.
How long can a 3D printer bridge without supports?
It depends on the machine, material and what you call acceptable. One documented PLA test was clean at 10 mm and slightly saggy at 15 mm (Fab Academy 2024, 2024). Treat any figure as a starting point for your own span ladder.
Why do my bridges sag even with the fan at 100%?
Fan percentage isn't the same as directed airflow. If your duct doesn't blow under the nozzle, raising the setting changes little. Printing cooler and improving duct coverage both help more.
Should bridge flow be higher or lower than 100%?
It depends on which bridge you mean. OrcaSlicer's bridging settings reference says reducing flow helps external bridges that sag, while increasing it improves strength and the layer above for internal bridges (OrcaSlicer Wiki, current page). Prusa's troubleshooting page recommends lower bridging flow for the first bridging layer (Prusa Knowledge Base, current article).
Does a bigger nozzle make bridging easier?
A bigger nozzle raises the flow ceiling but doesn't fix cooling. The bridge limit is still set by how fast the strand hardens in mid-air.
Conclusion
Bridge quality is a cooling-and-tension problem you solve on your own machine, not a preset you copy. Cooling decides whether the strand hardens in time, speed and flow decide whether it lands or drags, and span and material set the ceiling. Published numbers describe someone else's setup — use them to choose a direction, not a value.
Start with a small test print: one evening, one variable per coupon, several copies per plate, and a note on each result. That gets you further than any profile you download. If the coupon fails at the span you need, supports or a reorientation are the honest answer, not a failure.