


公告:本文由法國的 Michael Partouche 撰寫。感謝 Michael 花費大量時間和精力來提供這個精彩的 Bl touch 安裝教學。本文版權歸 Michael Partouche 所有。如需查看原文,請點這裡: https://bit.ly/3gIZSl9

Niveau du coachiel : Noob (初出茅廬)
自動床調平 (ou ABL),是在 3D plupart des imprimantes 中實現的系統。 Il permet de compenser activement les défauts d'aspérités or de mise à niveau duplateau d'impression, en compensant les mouvements de l'axe Z.
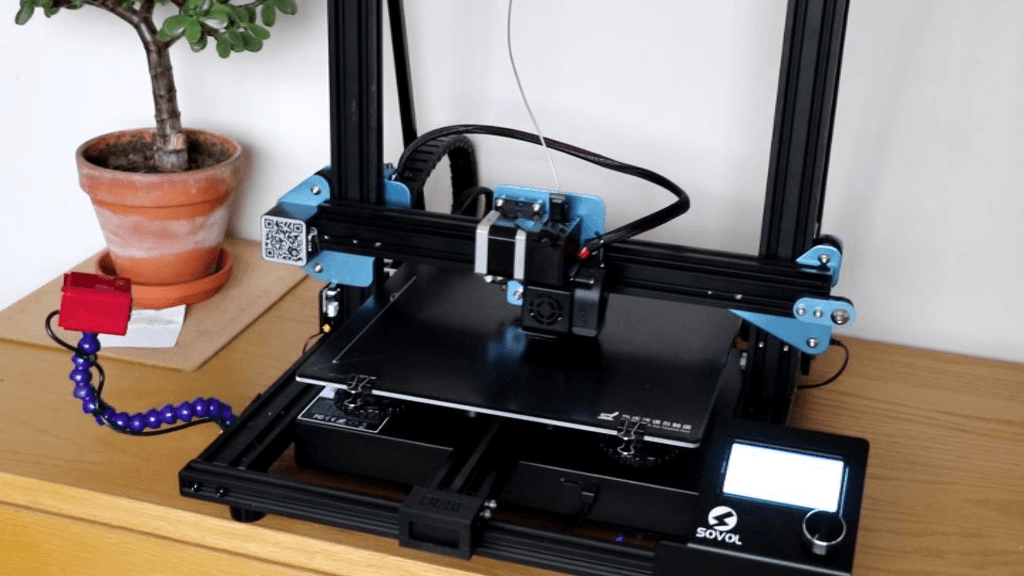
La Sovol sv01 是 Z 軸上獨立的雙驅動器,使用自動駕駛系統特別適合改善 3D 印象品質。
拉索沃爾SV01理解部署和部署BL-touch, qui est le palpeur d'auto-nivellement du Plateau (non fournis par défaut)。
BL-touch 的恩典,您在高山血清自動反應的時間相當長! Ainsi,les 印象seront parfaitement nivelées 和la première couche collera parfaitement au 高原。
前衛的 Chaque 印象,votre imprimanteeffectuera 整體測量不同點,在高原表面。自動計算演算法可以自動修正和修改 g 程式碼的值,並在 volée 中嵌入。
先決條件:
電話充電器和安裝程序 Cura :
“Reconnu par des Millions d'utilisateurs,Ultimaker Cura 是 3D 印象的邏輯,加上世界各地的流行。準備好印象和 clics,整合 CAO 的邏輯,以簡化工作流程或添加個性化參數控製印象和裝飾的進步。”
您可以使用 STL 檔案中的所有邏輯,將 GCODE 語言轉換為可解釋的 3D 語言。
這是 3D 駕駛艙中的數字命令指令合奏,用於填充物體。
請使用教學來了解 Sovol 韌體的獨特之處以及 Bl-touch 專用韌體的閃光器。
1)約會地點:
https://bit.ly/3cwI6hP
2)點選“télécharger gratuitement”:

3) 選擇與開發系統對應的版本。
Lancer 的邏輯充電和安裝過程:

* 如果您感覺很熟悉,請不要使用 Cura 的 Sovol 參數。
索沃爾河畔的蒙太奇:
1) bl-touch 準備套件:

BL-touch、連結、支援和可見套件內容。
2) Basculer l'imprimante sur le coté。
Dévisser les 10 vis de fixation etretirer le capot。
吊墜操作,在擠出機的戰車上進行操作,然後再用長斧頭進行暴力操作。伴隨運動:


3) 點選器連接器和套件連接器的識別碼。
將連接器 3 針的分支器連接至 D11 位置,然後將連接器引出至最終航線 (celui avec la bagu Z)。連接器 celui du kit a la place(2 針):


4) Une fois lapose de la nappe terminée, vous pouvezrefermer le capot。
關閉所有其他線纜:

5) 您需要維護重新放置在平台上(toujours en retenant le charriot de l'extrudeur)並在gaine tressée上滑動電纜,allant jusqu'a celui-ci:

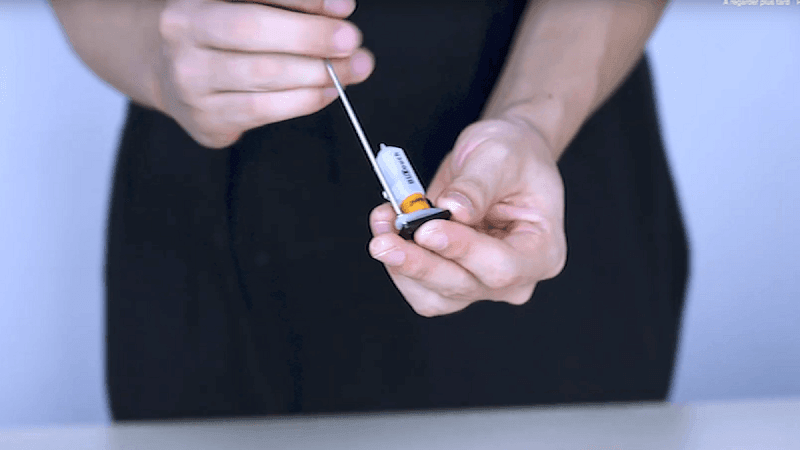
6) Monter le bl-touch sur son support à l'aide des deux vis et de la clé fourni dans le kit :

7) Brancher le connecteur du câble et placer le groupe support + bltouch sur le chariot de l'extrudeur à l'emplacement prevu à cet effet (les trous de filetage du support doivent correre à ceet (les trous de filetage du support doivent correre à ceetux du charriot):


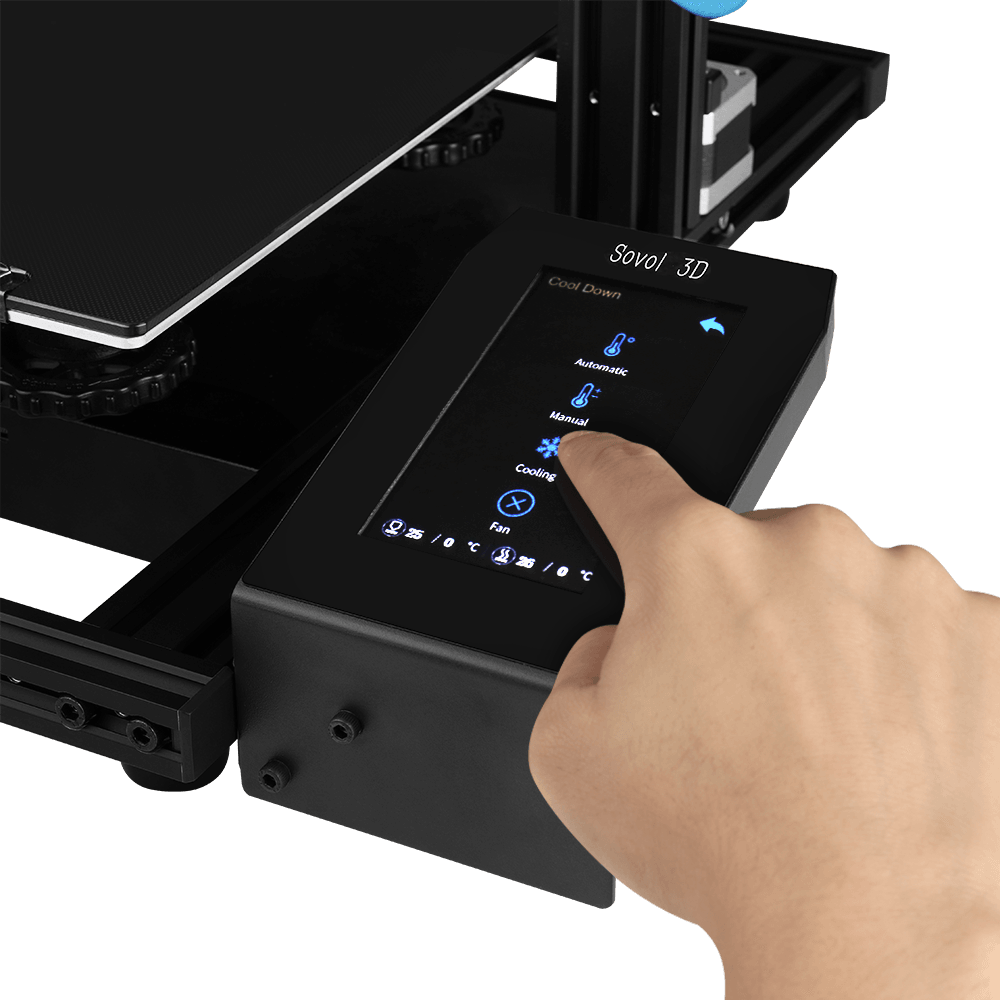
電話充電器和快閃記憶體韌體 bl-touch de votre Sovo公升 :
1)韌體最新版本的電話充電器。
Veiller à bien sélectionner le fichier 通訊員 au bl-touch :
https://sovol3d.com/pages/download

或下載此文件:


按一下並選擇韌體預充電前的 .hex 檔案:


Z 軸 Z 偏移參數:
使用 ABL 參數校正,確保您能在高原操作前進行操作,然後配置 z 偏移校正。
使用 A4 紙張的雙線,在平台和擠出機之間保持光滑。
Faire un home Z aux quatre 硬幣 du 高原。
Une fois la buse enposition et la feuille de paper A4 bloquée entre celle-ci et le Plateau, régler la molette reverante (située en dessous du Plateau, au coin), tout en glissant légèrement 摩擦力的摩擦力的一部分。

人員設定為 z 軸偏移。
我對高原邊緣的 3 條印像印象深刻。
控制長絲在平台上的附著力並控制其附著力。
進行 3 次校正,將 z 偏移負值提高到 -0.1 毫米,將仿射提高到 -0.05 毫米(高原巴士等的 rapprocher 和 peu plus la première couche):


* 無需在「商店設定」中註冊修改和更改,即可對價值進行調整。
今天開始 G 代碼:
首先使用 ABL 校正,啟動切片器的 G 代碼。
Pour cela, il suffit de lemodifier sous cura en ajoutant le gcode G29 (Paramètres –> Imprimantes –> Gérer les imprimantes –> Sélectionnez votre imprimante :

您複製/收集開始 gcode ci-dessous :
G28;歸位所有軸
M140系列{material_bed_temperature} ;開始加熱床
M190系列{material_bed_temperature} ;等待床達到溫度後再繼續
G29;高原自治區
M104 型{material_print_temperature} ;開始加熱擠出機
M109 型{material_print_temperature} ;等待擠出機達到溫度後再繼續
G1 Z1;
G1 Z15 F6000; Z @15mm ;主要擠出機
G92 E0;
G1 F200 E3;
G28;歸位所有軸
M140系列{material_bed_temperature} ;開始加熱床
M190系列{material_bed_temperature} ;等待床達到溫度後再繼續
G29;
M104 型{material_print_temperature} ;開始加熱擠出機
M109 型{material_print_temperature} ;等待擠出機達到溫度後再繼續
G1 Z1;
G1 Z15 F6000; Z @15mm ;主要擠出機
G92 E0;
G1 F200 E3;
G92 E0;
圖片及文字來源:https://sovol3d.com
發表評論
此網站已受到 hCaptcha 保護,且適用 hCaptcha 隱私政策以及服務條款。