


声明:本文由来自法国的 Michael Partouche 撰写。感谢 Michael 花费大量时间和精力,提供这篇精彩的 Bl touch 安装教程。本文版权归 Michael Partouche 所有。如果您想查看原文,请点击此处: https://bit.ly/3gIZSl9

Niveau du coachiel : Noob (初出茅庐)
自动床调平 (ou ABL),是在 3D plupart des imprimantes 中实现的系统。 Il permet de compenser activement les défauts d'aspérités or de mise à niveau duplateau d'impression, en compensant les mouvements de l'axe Z.
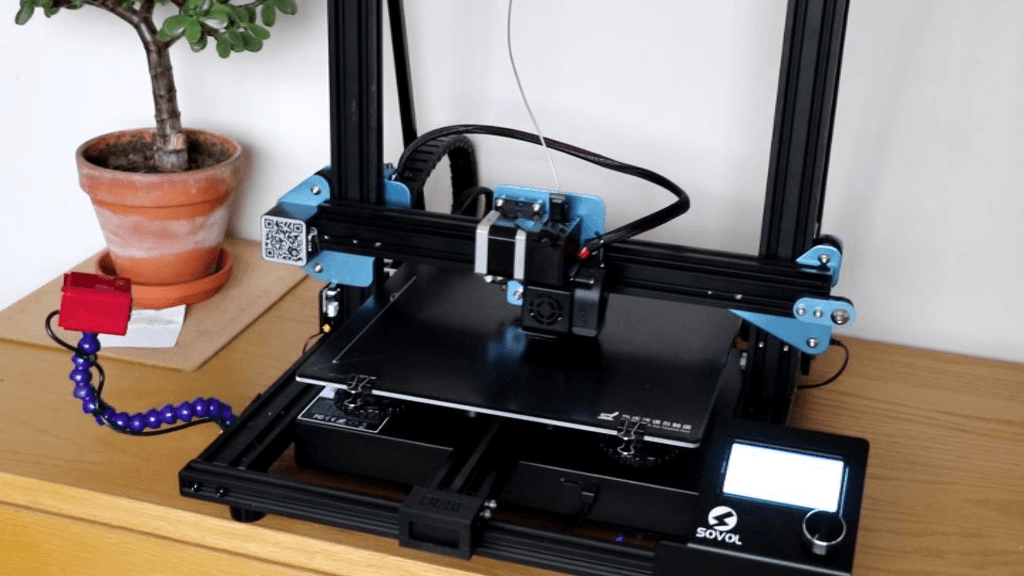
La Sovol sv01 是 Z 轴上独立的双驱动器,使用自动驾驶系统特别适合改善 3D 印象质量。
拉索沃尔SV01理解部署和部署BL-touch, qui est le palpeur d'auto-nivellement du Plateau (non fournis par défaut)。
BL-touch 的恩典,您在高原血清自动反应的时间相当长! Ainsi,les 印象seront parfaitement nivelées 和la première couche collera parfaitement au 高原。
前卫的 Chaque 印象,votre imprimanteeffectuera 整体测量不同点,在高原表面。自动计算算法可以自动修正和修改 g 代码的值,并在 volée 中嵌入。
先决条件:
电话充电器和安装程序 Cura :
“Reconnu par des Millions d'utilisateurs,Ultimaker Cura 是 3D 印象的逻辑,加上世界各地的流行。准备好印象和 clics,整合 CAO 的逻辑,以简化工作流程或添加个性化参数控制印象和装饰的进步。”
您可以使用 STL 文件中的所有逻辑,将 GCODE 语言转换为可解释的 3D 语言。
这是 3D 驾驶舱中的数字命令指令合奏,用于填充物体。
请使用教程来了解 Sovol 固件的独特之处以及 Bl-touch 专用固件的闪光器。
1)约会地点:
https://bit.ly/3cwI6hP
2)点击“télécharger gratuitement”:

3) 选择与开发系统对应的版本。
Lancer 的逻辑充电和安装过程:

* 如果您感觉很熟悉,请不要使用 Cura 的 Sovol 参数。
索沃尔河畔的蒙太奇:
1) bl-touch 准备套件:

BL-touch、连接、支持和可见套件内容。
2) Basculer l'imprimante sur le coté。
Dévisser les 10 vis de fixation etretirer le capot。
吊坠操作,在挤出机的战车上进行操作,然后再用长斧头进行暴力操作。伴随运动:


3) 点选器连接器和套件连接器的标识符。
将连接器 3 针的分支器连接至 D11 位置,然后将连接器引出至最终航线 (celui avec la bagu Z)。连接器 celui du kit a la place(2 针):


4) Une fois lapose de la nappe terminée, vous pouvezrefermer le capot。
关闭所有其他线缆:

5) 您需要维护重新放置在平台上(toujours en retenant le charriot de l'extrudeur)并在gaine tressée上滑动电缆,allant jusqu'a celui-ci:

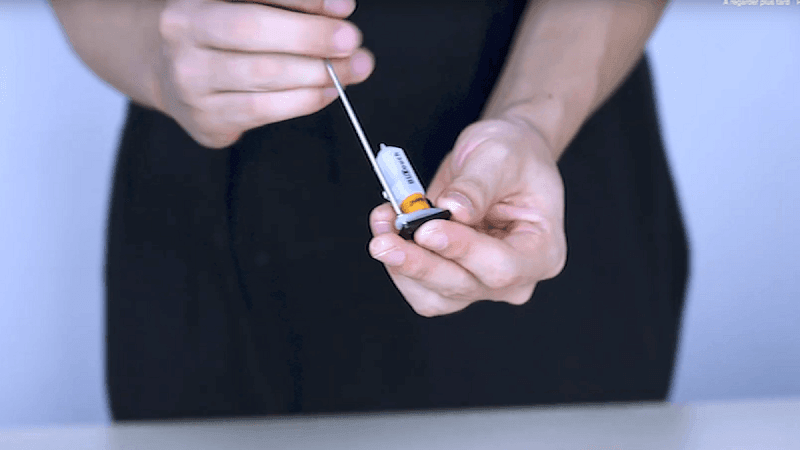
6) Monter le bl-touch sur son support à l'aide des deux vis et de la clé fourni dans le kit :

7) Brancher le connecteur du câble et placer le groupe support + bltouch sur le chariot de l'extrudeur à l'emplacement prevu à cet effet (les trous de filetage du support doivent correre à ceux du charriot):


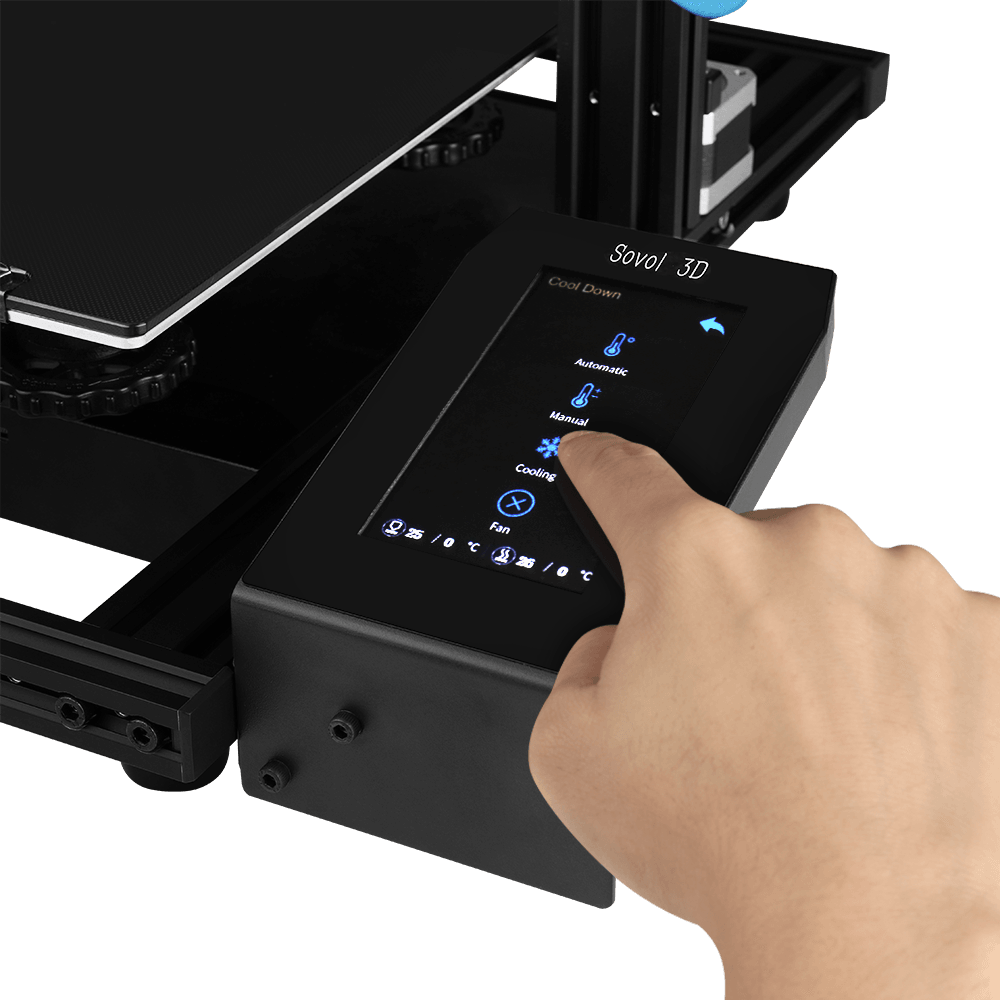
电话充电器和闪存器固件 bl-touch de votre Sovo升 :
1)固件最新版本的电话充电器。
Veiller à bien sélectionner le fichier 通讯员 au bl-touch :
https://sovol3d.com/pages/download

或者下载此文件:


单击并选择固件预充电前的 .hex 文件:


Z 轴 Z 偏移参数:
使用 ABL 参数校正,确保您能在高原操作前进行操作,然后配置 z 偏移校正。
使用 A4 纸张的双线,在平台和挤出机之间保持光滑。
Faire un home Z aux quatre 硬币 du 高原。
Une fois la buse enposition et la feuille de paper A4 bloquée entre celle-ci et le Plateau, régler la molette reverante (située en dessous du Plateau, au coin), tout en glissant légèrement la feuille.摩擦力是摩擦力的一部分,而不是薄饼的摩擦力。

人员设置为 z 轴偏移。
我对高原边缘的 3 条印象印象深刻。
控制长丝在平台上的附着力并控制其附着力。
进行 3 条校正,将 z 偏移负值提高到 -0.1 毫米,将仿射提高到 -0.05 毫米(高原巴士等的 rapprocher 和 peu plus la première couche):


* 无需在“商店设置”中注册修改和更改,即可对价值进行调整。
今天开始 G 代码:
首先使用 ABL 校正,启动切片器的 G 代码。
Pour cela, il suffit de lemodifier sous cura en ajoutant le gcode G29 (Paramètres –> Imprimantes –> Gérer les imprimantes –> Sélectionnez votre imprimante :

您复制/收集开始 gcode ci-dessous :
G28 ;所有轴归位
M140系列{material_bed_temperature} ;开始加热床
M190系列{material_bed_temperature} ;等待床达到温度后再继续
G29;高原自动驾驶
M104 型{material_print_temperature} ;开始加热挤出机
M109 型{material_print_temperature} ;等待挤出机达到温度后再继续
G1 Z1;
G1 Z15 F6000;Z @15mm;主要挤出机
G92 E0;
G1 F200 E3;
G28 ;所有轴归位
M140系列{material_bed_temperature} ;开始加热床
M190系列{material_bed_temperature} ;等待床达到温度后再继续
G29;
M104 型{material_print_temperature} ;开始加热挤出机
M109 型{material_print_temperature} ;等待挤出机达到温度后再继续
G1 Z1;
G1 Z15 F6000;Z @15mm;主要挤出机
G92 E0;
G1 F200 E3;
G92 E0;
图片及文字来源:https://sovol3d.com
发表评论
此站点受 hCaptcha 保护,并且 hCaptcha 隐私政策和服务条款适用。