Coloring your 3D model transforms it from a raw prototype into a polished masterpiece. The right coloring method not only enhances visual appeal but also improves durability and usability. By experimenting with techniques like painting or airbrushing, you can unlock endless creative possibilities. Dive into the process with confidence and watch your designs come to life.
Key Takeaways
- Pick the best coloring method for your model's material. You can paint, dye, color the filament, hydro dip, or airbrush.
- Sand and prime your model's surface before coloring. This helps paint stick better and makes the finish smoother.
- Use a clear coat to protect the colors on your model. Let it dry fully before touching to keep it strong and long-lasting.
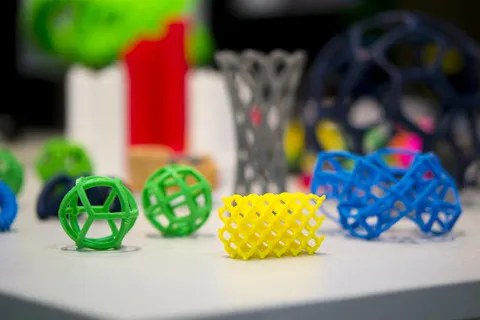
Overview of Coloring Methods
Coloring your 3D printed models requires selecting the right technique to achieve the desired aesthetic and functional results. Each method offers unique advantages, depending on the material, design, and finish you aim to achieve. Below, you'll find an overview of five popular coloring methods for 3D prints.
Painting Techniques for 3D Printing
Painting is one of the most versatile coloring methods for 3D printed models. It allows you to apply a wide range of pigments, from acrylics to enamels, to create vibrant and detailed finishes. You can use brushes for precision or spray paints for broader coverage. Before painting, ensure the surface is smooth and primed to enhance adhesion and color stability. Layering pigments carefully can add depth and realism to your model. For intricate designs, masking tape or stencils can help you achieve clean lines and patterns.
Dyeing Methods for 3D Printing Resin Colors
Dyeing is a popular choice for adding colorants directly to resin-based 3D prints. This method involves submerging the model in a dye solution or mixing pigments into the resin before the printing process begins. Dyeing achieves uniform and vibrant 3D printing resin colors, making it ideal for translucent or semi-transparent prints. When adding colorants, select dyes compatible with your resin to avoid compromising its structural integrity. This technique is particularly effective for maintaining color stability over time, ensuring your model retains its brilliance.
Filament Coloring for Pre-Printed Models
Filament coloring simplifies the process by using pre-colored filaments during the printing process. This method eliminates the need for post-printing color application, saving time and effort. Filaments infused with pigments come in a wide variety of shades, allowing you to choose the perfect match for your design. While this approach limits customization after printing, it ensures consistent and durable colors throughout the model. For multi-color designs, dual-extrusion printers can combine different filaments seamlessly.
Hydro Dipping for Unique Patterns
Hydro dipping, also known as hydrographic printing, is an innovative technique for creating intricate patterns on 3D printed models. This process involves transferring a printed film onto the model's surface using water. Hydro dipping allows patterns like carbon fiber, wood grain, and camouflage to conform to complex shapes due to surface tension. Its versatility makes it suitable for various materials, including plastic, metal, and wood. If you're looking to add a unique touch to your 3D prints, hydro dipping offers endless creative possibilities.
Tip: To achieve the best results with hydro dipping, ensure your model is properly primed and sealed. This enhances adhesion and protects the final design from wear and tear.
Airbrushing for Smooth Finishes
Airbrushing provides a professional-grade finish for your 3D printed models. This method uses compressed air to spray fine layers of paint or pigments onto the surface, creating smooth and even coats. Airbrushing is ideal for achieving gradients, shading, and subtle color transitions. It works well for large models or intricate designs requiring precision. To master airbrushing, practice controlling the spray pressure and distance to avoid overapplication. Using high-quality colorants ensures vibrant and long-lasting results.
Step-by-Step Guide for Each Coloring Method
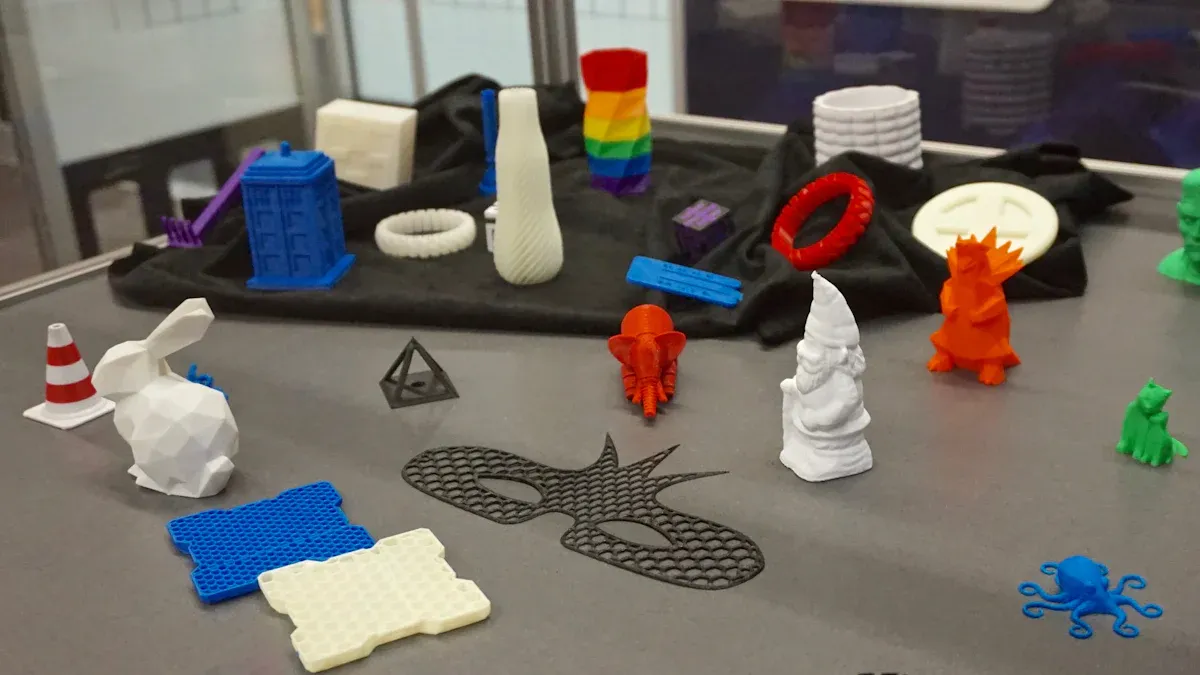
Painting: Tools, Techniques, and Application
Painting is one of the most accessible ways to enhance your 3D printed models. To get started, gather essential tools like brushes, spray paints, and a primer. Begin by preparing the surface of your model. Sand it lightly to remove imperfections, then apply a primer to improve paint adhesion. Once the primer dries, use acrylic or enamel pigments to add color. Brushes work well for detailed areas, while spray paints provide even coverage for larger surfaces.
Apply thin layers of paint, allowing each coat to dry before adding the next. This layering technique prevents streaks and ensures a smooth finish. For intricate designs, use masking tape or stencils to create clean lines. After completing the painting process, seal your work with a clear coat to protect the colors and enhance durability.
Pro Tip: Use high-quality pigments to achieve vibrant and long-lasting results.
Dyeing: How to Achieve Vibrant 3D Printing Resin Colors
Dyeing is an excellent coloring method for resin-based 3D prints. It involves adding colorants directly to the resin or submerging the printed model in a dye solution. To begin, choose dyes compatible with your resin to maintain its structural integrity. If you’re adding colorants during the printing process, mix them thoroughly into the resin to ensure even distribution.
For post-printing dyeing, prepare a dye bath by dissolving pigments in warm water or a solvent. Submerge your model completely, ensuring all surfaces absorb the dye evenly. Monitor the process closely to achieve the desired shade. Once dyed, rinse the model and let it dry completely. This method works particularly well for translucent or semi-transparent prints, as it enhances their vibrancy and color stability.
Note: Always test the dye on a small sample piece to ensure compatibility with your resin.
Filament Coloring: Selecting and Using Pre-Colored Filaments
Filament coloring simplifies the process by using pre-colored filaments during the printing process. Start by selecting filaments that match your design requirements. These filaments come in a wide range of shades, allowing you to achieve consistent colors without additional steps.
Load the filament into your 3D printer and proceed with the printing process as usual. For multi-color designs, consider using a dual-extrusion printer to combine different filaments seamlessly. While this method limits post-printing customization, it ensures durable and uniform colors throughout the model.
Tip: Store your filaments in a dry, cool place to prevent moisture absorption, which can affect print quality.
Hydro Dipping: Step-by-Step Process for Beginners
Hydro dipping offers a creative way to apply unique patterns to your 3D printed models. To begin, prepare your model by sanding and priming it. Fill a container with water and place a hydrographic film on the surface. Allow the film to dissolve slightly, creating a pattern on the water.
Next, spray an activator onto the film to make it adhesive. Slowly dip your model into the water at an angle, ensuring the pattern wraps around its surface. Once fully submerged, remove the model and rinse off any excess film. Let it dry completely before sealing it with a clear coat to protect the design.
Pro Tip: Practice on a test piece before hydro dipping your final model to perfect your technique.
Airbrushing: Tips for Even and Professional Coats
Airbrushing is ideal for achieving smooth and professional finishes on your 3D printed models. Start by assembling an airbrush kit, including a compressor, paint, and cleaning tools. Prepare your model by sanding and priming it to ensure the paint adheres properly.
Mix your pigments with a thinner to achieve the right consistency for airbrushing. Load the paint into the airbrush and test the spray on a scrap piece to adjust the pressure and flow. Hold the airbrush at a consistent distance from the model and apply thin, even coats. Allow each layer to dry before applying the next. This technique works well for gradients, shading, and subtle color transitions.
Note: Clean your airbrush thoroughly after each use to prevent clogs and maintain its performance.
Tips for Achieving Professional Results
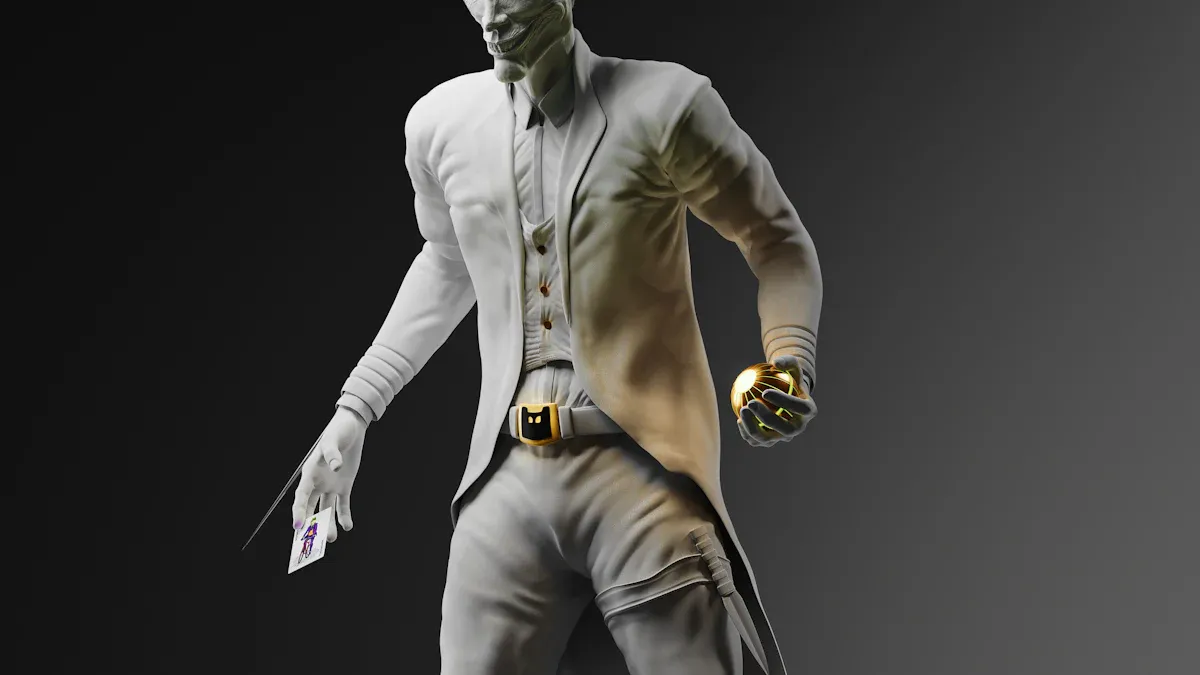
Preparing the Surface: Sanding and Priming
Proper surface preparation is essential for achieving a professional finish on your 3D printed models. Sanding removes visible layer lines and smooths imperfections, improving the overall appearance. Start with coarse sandpaper to tackle rough areas, then transition to finer grits for a polished surface. Using ultra-fine sandpaper after priming enhances glossiness and provides better protection for the final finish. Priming creates a uniform base for pigments, ensuring better adhesion and color stability.
Benefits of sanding and priming:
- Reduces visible layer lines by up to 60%.
- Improves surface finish and reduces polishing time by 25%.
- Enhances gloss and durability with ultra-fine sanding after priming.
Tip: Always clean the model after sanding to remove dust and debris before applying primer.
Choosing the Right Materials: Paints, Dyes, and Tools
Selecting the right materials is crucial for achieving vibrant and durable results. High-quality pigments ensure consistent color application and longevity. For resin-based models, choose dyes compatible with the resin to maintain structural integrity. Brushes, airbrushes, and spray paints offer different levels of precision and coverage, so pick tools based on your design needs.
When adding colorants during the printing process, ensure they are mixed thoroughly to avoid uneven distribution. For post-printing applications, test your materials on a small sample to confirm compatibility and desired results.
Note: Invest in professional-grade tools to achieve smoother finishes and reduce application errors.
Layering and Blending Colors for Depth
Layering and blending pigments add depth and realism to your 3D printed models. Thin layers of paint allow you to build up color gradually, avoiding streaks and uneven finishes. Blending techniques, such as dry brushing or airbrushing, create smooth transitions and gradients.
|
Study |
Findings |
|---|---|
|
Error-diffusion halftoning |
|
|
Complex scattering properties |
Improves depth perception through subsurface scattering. |
|
Inverse Monte Carlo simulation |
Optimizes material arrangement for better texture detail. |
|
Mixing translucent materials |
Estimates concentration for desired appearance and scattering effects. |
|
Spatially varying translucency |
Uses RGBA signals for full-color modeling, improving visual quality. |
Pro Tip: Practice blending techniques on scrap pieces to perfect your skills before working on the final model.
Sealing and Protecting the Final Finish

Sealing protects the final finish and enhances durability. Apply a clear coat to shield pigments from wear and environmental factors. This step also improves the appearance by adding a glossy or matte finish, depending on your preference. Various sealing techniques exist, including spray-on sealants and brush-on varnishes.
Benefits of sealing:
- Enhances durability and appearance.
- Prevents fading and chipping over time.
- Provides a protective barrier against moisture and UV exposure.
Tip: Allow the sealant to cure completely before handling the model to avoid smudges or damage.
Common Mistakes to Avoid
Neglecting Surface Preparation
Skipping surface preparation can lead to uneven finishes and poor adhesion of colorants. Sanding your 3D printed model removes layer lines and imperfections, creating a smooth base for applying pigments. Without this step, the final result may appear rough or inconsistent. Priming is equally important, as it enhances color stability and ensures that the pigments adhere properly to the surface. Always clean the model thoroughly after sanding to remove dust and debris before applying primer. This preparation step significantly improves the overall quality of your 3D printed model.
Tip: Use fine-grit sandpaper for a polished surface and apply a primer designed for 3D printing materials.
Using Incompatible Paints or Dyes
Using paints or dyes that are incompatible with your resin or filament can cause significant issues. For instance, improper melting during the printing process can result in visible bumps on the filament surface. Additionally, certain solvents may react with the unique microstructure of 3D printed parts, leading to deformation or loss of shape. Always test your colorants on a small sample piece to ensure compatibility. Dedicated compatibility assessments are essential for maintaining the structural integrity of your model and achieving vibrant 3D printing resin colors.
Common issues caused by incompatibility:
- Melting problems during filament extrusion.
- Chemical reactions that weaken the model's structure.
- Uneven color application due to improper adhesion.
Overapplying or Underapplying Color
Applying too much or too little color can ruin the appearance of your 3D printed model. Overapplication often results in drips, streaks, or an overly thick finish that obscures fine details. On the other hand, underapplication can leave the surface looking patchy or incomplete. To avoid these issues, apply thin, even layers of colorants, allowing each coat to dry before adding the next. This technique ensures a smooth and professional finish while preserving the intricate details of your design.
Pro Tip: Practice your application technique on scrap pieces to perfect your skills before working on the final model.
Skipping the Sealing Process
Failing to seal your 3D printed model leaves it vulnerable to wear, fading, and environmental damage. A clear coat not only protects the pigments but also enhances the model's appearance by adding a glossy or matte finish. Sealing is especially important for maintaining the color stability of 3D printing resin colors, as it prevents fading caused by UV exposure or moisture. Always allow the sealant to cure completely before handling the model to ensure maximum durability.
Note: Choose a sealant compatible with your resin or filament to avoid adverse reactions.
Coloring 3D printed models requires careful preparation, proper techniques, and a willingness to experiment. Start by selecting high-quality STL files and optimizing slicing settings for the best print quality. Experiment with different resins to enhance the final appearance. Sanding and priming refine the surface, ensuring better paint adhesion. By embracing creativity and patience, you can achieve professional-quality results that bring your 3D designs to life.
FAQ
How do you prevent paint from peeling off 3D printed models?
Ensure proper surface preparation by sanding and priming. Use high-quality paints compatible with your material. Seal the model with a clear coat for added protection.
Can you mix different coloring methods on one model?
Yes, you can combine methods like painting and airbrushing for detailed designs. Ensure each layer dries fully before applying the next technique to avoid smearing.
What’s the best way to fix mistakes during coloring?
Lightly sand the affected area to remove errors. Reapply primer and color as needed. For small details, use fine brushes or masking tape for precision.


Yorum bırak
Tüm yorumlar yayınlanmadan önce denetlenir.
Bu site hCaptcha ile korunuyor. Ayrıca bu site için hCaptcha Gizlilik Politikası ve Hizmet Şartları geçerlidir.