


Achieving high 3D printing quality requires careful adjustments to layer height, infill, and patterns. These settings significantly influence the appearance and functionality of your model. For instance, using smaller layer heights can result in weaker objects. Diagonal infill patterns provide about 10% more strength compared to straight ones. Additionally, parts printed along the Z-axis tend to be 20% to 30% weaker than those printed along the X or Y axes. By modifying these settings, you can effectively balance strength, speed, and material usage, ultimately enhancing 3D printing quality and ensuring your designs perform optimally.
Key Takeaways
- Change layer height to balance quality and speed. Use 0.2mm for normal prints, 0.1mm for detailed ones, and 0.3mm for faster, bigger models.
- Pick infill density based on your print's use. Use 50%-100% for strong parts and 0%-15% for decorations to save material.
- Choose the right infill pattern for strength and saving material. Patterns like gyroid and triangular are strong, while honeycomb uses less material.
- Test settings on small prints before big ones. This helps you find the best layer height, infill density, and pattern for your project.
- Match layer height to your nozzle size. Use 25%-75% of the nozzle width for strong, lasting prints.
Layer Height and 3D Printing Quality
Understanding Layer Height
Layer height is how thick each layer of your 3D print is. It’s a key setting because it affects how strong, detailed, and smooth your prints turn out. Smaller layer heights mean more layers, which give better details and smoother surfaces. Larger layer heights use fewer layers, making prints faster but less detailed and weaker.
To make strong prints, match the layer height to your printer’s nozzle size. A good range is 25% to 75% of the nozzle diameter. For example, if your nozzle is 0.4mm wide, set the layer height between 0.1mm and 0.3mm. Staying in this range helps layers stick together well, which makes prints stronger and last longer.
Effects of Layer Height on Strength and Surface Finish
Layer height affects both how strong and smooth your prints are. Thinner layers make surfaces smoother and curves look better. This is great for decorative items or detailed parts. But thinner layers take longer to print and can overheat the filament if printing takes too long.
For parts that need to be strong, larger layer heights can be a problem. They don’t stick together as well, making prints weaker. For example, increasing the layer height from 0.16mm to 0.28mm can make PLA 27% weaker. So, thinner layers not only look better but also make stronger prints.
Here’s a simple table showing how layer height affects your prints:
|
Aspect |
Explanation |
|---|---|
|
Surface Finish |
Thinner layers make smoother surfaces and better curves. |
|
Strength |
Smaller layer heights help layers stick better, making parts stronger. |
|
Print Time |
Larger layer heights print faster because there are fewer layers. |
|
Z-axis Resolution |
Thinner layers improve details along the Z-axis for precise models. |
Balancing Layer Height for Speed and Quality
To get the best prints, balance speed and quality. If you want faster prints, use a layer height of 0.3mm or 0.4mm for big models without fine details. This saves time and works well for prototypes or simple parts.
For detailed projects like figurines, use a layer height of 0.1mm to 0.15mm. At 0.15mm, overhangs and bridges work well, and you get a good mix of speed and quality. Avoid going below 0.05mm unless necessary, as it can cause color issues and take too long.
Here are some tips for balancing speed and quality:
- Use 0.15mm layer height for most prints.
- For faster prints, go up to 0.3mm, but don’t exceed 0.4mm.
- Test your settings on a small model before printing a big one.
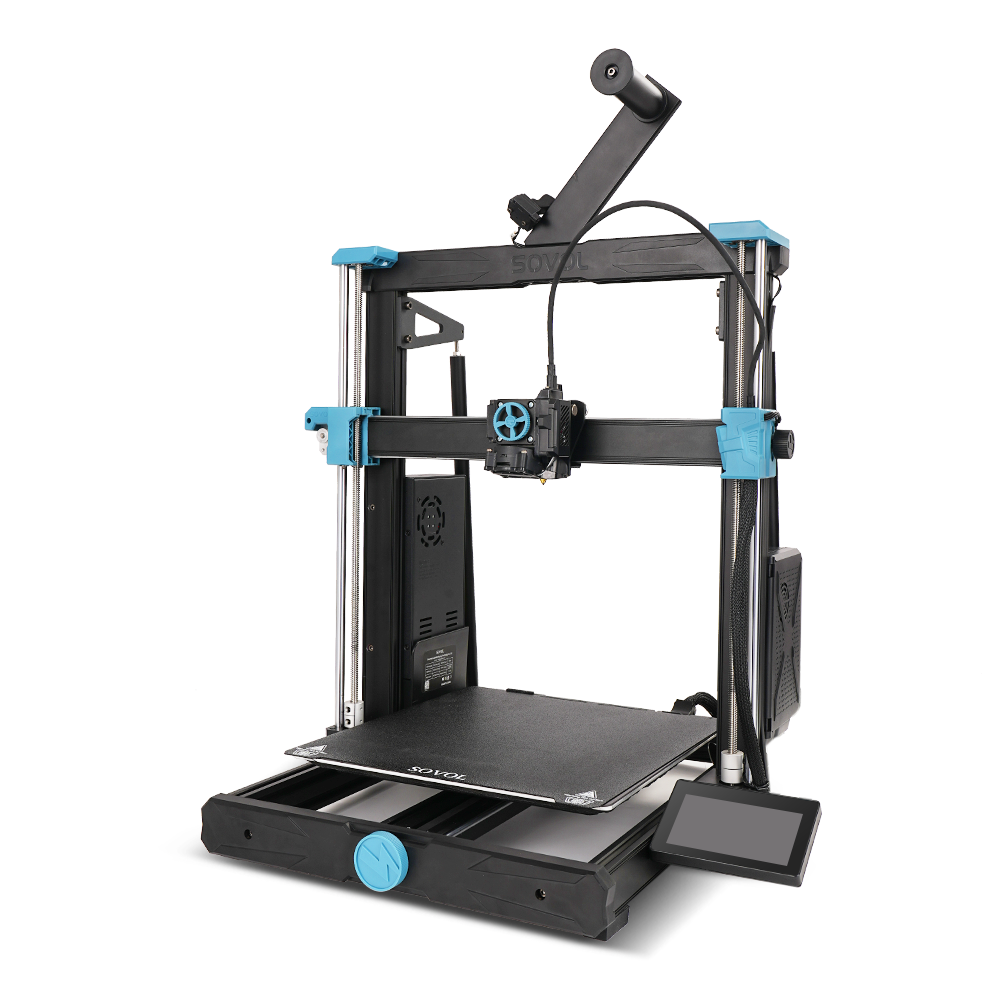
Pro Tip: If you have a Sovol printer, start with 0.2mm layer height for general prints. Adjust it based on what you need.
By learning how to adjust layer height, you can make prints that are strong, fast, and look great.
Recommended Layer Heights for Sovol Printers
Picking the right layer height is key for great prints. Sovol printers are precise and easy to use. They work well for beginners and experts alike. Choose a layer height based on your goal: speed, strength, or detail.
General Layer Height Recommendations
For most projects, use a layer height of 0.2mm. This setting gives a good mix of speed and quality. For more detail, lower the layer height to 0.1mm or 0.15mm. Thinner layers make surfaces smoother and show fine details. This is great for figurines or decorative items.
If you need faster prints, raise the layer height to 0.3mm. This works well for big models or prototypes without small details. Sovol printers can handle bridges and strings at this height, even at fast speeds. They stay accurate while printing quickly.
Matching Layer Height to Nozzle Size
Always match the layer height to your nozzle size. A good rule is to use 25% to 75% of the nozzle width. For example, with a 0.4mm nozzle, pick a layer height between 0.1mm and 0.3mm. This range helps layers stick together better, making prints stronger and last longer.
Tips for Adjusting Layer Height on Sovol Printers
- Start with 0.2mm: This is a safe choice for most projects.
- Test small models: Try your settings on a small print first.
- Avoid extremes: Don’t go below 0.05mm or above 0.4mm. These can cause weak layers or rough surfaces.
- Experiment with speed: Higher layer heights print faster but check for defects.
Pro Tip: Sovol printers stay accurate even with higher layer heights. Use this for big parts that need quick printing.
By adjusting the layer height, you can get the best from your Sovol printer. Whether you want speed, strength, or detail, these tips will help you make great prints every time.
Infill Density and Strength Optimization
What Is Infill Density?
Infill density shows how much material is inside a 3D print. It’s written as a percentage. A 0% infill means the object is hollow. A 100% infill makes it solid. This setting changes how strong, heavy, and material-efficient your prints are.
You can adjust infill density in your slicer software. Change the percentage based on what your project needs. Higher infill density makes prints stronger but also heavier and uses more material.
Here’s a simple table about infill density:
|
Definition/Technique |
Description |
|---|---|
|
Infill Density |
Shows how much material is inside a print. |
|
Impact on Strength |
Higher density makes prints stronger but heavier and costlier. |
|
Infill Patterns |
Includes Quick 2D, Strong 2D, Strong 3D, and Flexible patterns. |
Tip: Use 50%-100% infill for strong parts. For decorative prints, 0%-15% saves material and weight.
How Infill Density Affects Strength and Material Use
Infill density is important for strength and material use. Higher density makes prints stronger but uses more material and time.
For example, studies show higher infill density improves flexural strength a lot:
|
Average Tensile Strength (MPa) |
Average Flexural Strength (MPa) |
|
|---|---|---|
|
25 |
29.103 |
16.088 |
|
50 |
29.103 |
30.015 |
|
75 |
29.103 |
49.707 |
|
100 |
29.103 |
67.961 |
Picking the Best Infill Density for Your Prints
Choose infill density based on your print’s purpose. Strong parts need higher density. Decorative items can use lower density to save material and print faster.
Functional Prints
For strong prints, use at least 50% infill density. This makes parts strong enough to handle stress. Patterns like cubic, octet, or gyroid add extra strength.
Decorative Prints
For non-functional prints, use 0%-15% infill density. Simple patterns like lines or grid work well. These settings save material and print faster while looking good.
Helpful Tips
- Use higher infill density for parts that carry heavy loads.
- Combine high infill density with thicker walls for extra strength.
- Try different patterns to balance strength and material use.
Pro Tip: For Sovol printers, start with 20%-50% infill for strong parts. Use 0%-10% for decorative prints. Adjust wall thickness and patterns in your slicer for the best results.
By learning how infill density affects strength and material use, you can make prints that fit your needs. Test slicer settings to find the best balance for your designs.
Suggested Infill Density Settings for Sovol Printers
Picking the right infill density for Sovol printers improves print quality. Sovol printers are precise and reliable. You can adjust infill settings to fit your project’s needs. Follow these tips to get the best results.
General Infill Density Recommendations
Start with 20%-50% infill density for most projects. This range balances strength and material use. For strong parts, increase density to 50%-100%. For decorative prints, use 0%-15% density to save material and print faster.
Functional Prints
For strong parts, use higher infill density like 50%-100%. This makes parts strong enough to handle stress. For example, 75% density works well for tools or mechanical parts. Use patterns like cubic or gyroid for extra strength. Sovol printers handle these patterns well, ensuring durable prints.
Decorative Prints
For decorative items, focus on looks, not strength. Use 0%-15% infill density to save material and print faster. Patterns like lines or grid provide enough support while keeping the model attractive.
Tips for Adjusting Infill Density on Sovol Printers
- Test Small Models: Try settings on small prints first to avoid wasting material.
- Add Wall Thickness: Use thicker walls with low infill density for stronger outer shells.
- Try Patterns: Experiment with patterns like gyroid or cubic for better results.
- Watch Material Use: Higher infill density uses more filament. Check filament levels for big prints.
Pro Tip: Start with 20%-30% infill density and a cubic pattern for most projects. Adjust as needed for your design.
By learning how infill density affects strength and material use, you can improve your prints. Test different settings to find the best balance for your designs.
Infill Patterns and Part Orientation
Common Infill Patterns and Their Applications
Infill patterns decide the inside structure of 3D prints. Each pattern has its own strengths for different projects. For example, honeycomb patterns are strong and save material. Triangular patterns are very sturdy, great for tough parts.
Here’s a simple table about common infill patterns:
|
Infill Pattern |
Description |
Recommended Prints |
|---|---|---|
|
Rectilinear |
A basic grid that gives good support. |
Everyday prints |
|
Triangular |
Best for strength with less weight. |
Strong parts |
|
Honeycomb |
Strong and uses less material. |
Both decorative and useful prints |
|
Gyroid |
Complex and strong in all directions. |
Mechanical and tough parts |
Pick an infill pattern based on your project’s purpose. For strong prototypes, use patterns like gyroid or triangular. For decorative prints, honeycomb or rectilinear patterns save material but stay sturdy.
How Infill Patterns Affect Strength and Flexibility
The infill pattern you choose changes how strong and bendable your print is. Patterns like gyroid and 3D honeycomb make prints stronger. For example, gyroid is equally strong in all directions. This is great for parts that face stress from many sides.
Studies show infill shapes affect how much force a print can handle. Flexible patterns like concentric work well for bendable parts. Rigid patterns like triangular are best for strong, stiff parts. Tests also prove that picking the right pattern improves how materials behave under pressure.
To get the best results, match the pattern to your project. Use flexible patterns for bendy parts and rigid ones for heavy-duty items.
Optimizing Part Orientation for Better Print Quality
How you position your part affects its strength and look. Laying parts flat on the print bed makes them stronger. This aligns layers with horizontal forces, reducing breaks between layers. For example, flat parts spread weight better, making them last longer.
Here are tips for better part orientation:
- Use Less Support: Position parts to avoid overhangs and extra supports.
- Boost Strength: Align parts to handle forces in their working direction.
- Improve Looks: Face visible surfaces upward for smoother finishes.
Research shows vertical forces can weaken prints by splitting layers. To prevent this, position parts to spread stress evenly. For Sovol printers, check slicer previews to test orientations before printing.
By learning about infill patterns and part orientation, you can make prints that are strong and efficient. Try different settings to find what works best for your projects.
Best Practices for Infill Patterns on Sovol Printers
Picking the right infill pattern makes prints stronger and better. Sovol printers are precise, so they’re great for testing patterns. Follow these tips to improve your infill settings.
Match the Pattern to Your Print's Purpose
Each pattern has its own benefits. Choose based on your print’s goal. For strong parts, Quarter Cubic is great for thin pieces but may affect surface smoothness. If you need bendy parts, Concentric works best, especially at 100% density. For quick, simple prints, Zig-zag is a good option. It also helps reduce filament drips with runny materials.
For flexible parts in all directions, Cross 3D is better than Cross or Concentric. If you want strength and style, Gyroid is perfect. It resists shearing and looks cool with clear filaments.
Adjust Settings for Strength and Flexibility
To make strong prints, use dense patterns like Gyroid with thick walls. For flexible prints, try Cross 3D or Concentric with lower density. Always test small prints first to check if the pattern works well.
Tips for Sovol Printers
- Start with Gyroid: This pattern is strong and looks nice, making it a good choice for most prints.
- Try Different Densities: Change the infill density to see how it works with your pattern. For example, Quarter Cubic at 50% density is great for strong parts.
- Check Filament Type: Patterns like Zig-zag work better with runny filaments. Make sure your filament matches the pattern.
Pro Tip: Use Sovol’s slicer preview to see how the infill will look inside your print. This helps you spot weak areas before printing.
By learning what each pattern does and matching it to your project, you can get better results with your Sovol printer. Test different patterns to find the best mix of strength, flexibility, and efficiency.
Changing layer height, infill density, and patterns improves 3D print quality. These settings affect how strong and durable your prints are. Studies show that tweaking infill density changes strength a lot. For instance, 40% density holds more weight, but 100% density doesn’t add much extra strength because the layers are already solid.
Testing is important. Begin with suggested settings and adjust them for your project. Sovol printers make this easier with simple controls to help you. By learning these settings, you can make prints that are strong, fast, and look great, giving you better results every time.
FAQ
What is the best layer height for detailed prints?
For detailed prints, pick a layer height of 0.1mm to 0.15mm. This gives smooth surfaces and shows small details clearly. Don’t go below 0.05mm, as it takes too long and may cause filament problems.
How does infill density affect print strength?
Higher infill density makes prints stronger but uses more material. For strong parts, use 50%-100% density. For decorative items, 0%-15% saves material and still keeps the shape. Try different densities to find what works best for your project.
Which infill pattern should I use for strong parts?
Choose gyroid or triangular patterns for strong parts. These patterns spread stress evenly and stay strong under pressure. Gyroid is great for machine parts, while triangular works for lightweight but tough designs.
Can I mix infill patterns in one print?
Yes, some slicers let you use more than one pattern in a print. For example, use gyroid for the inside and rectilinear for areas that don’t need as much strength.
How do I improve print quality on a Sovol printer?
Start with these settings: 0.2mm layer height, 20%-50% infill density, and gyroid or cubic patterns. Test small prints to adjust settings. Sovol printers are easy to tweak, so try changing speed, temperature, and patterns for better results.


Lämna en kommentar
Alla kommentarer modereras innan de publiceras.
Denna webbplats är skyddad av hCaptcha och hCaptchas integritetspolicy . Användarvillkor gäller.