


3D printing supports are important for making good prints. They are temporary pieces that hold up parts of your model. Without supports, overhangs or detailed designs might droop or fail.
Supports improve print quality by holding tricky areas, like sharp angles or bridges. Adding supports helps you create complex designs with better accuracy and strength.
Tip: Place supports wisely to save filament and keep prints stable.
Key Takeaways
- Supports in 3D printing help hold up parts like overhangs. They keep your prints strong and looking good.
- Use the 45-degree rule to decide if supports are needed. Overhangs steeper than 45 degrees may sag without them.
- Pick the right support type for your design. Tree supports use less material and are easy to remove. Linear supports are stronger for flat shapes.
- Check your model in slicer software to find spots needing supports. Change settings to save material and improve print quality.
- Try different support styles to use fewer supports. This saves time and material while making better prints.
When to Use 3D Printing Supports
Spotting overhangs and bridges in your design
In 3D printing, you’ll often see overhangs and bridges. Overhangs are parts that stick out without anything holding them up. Bridges are flat parts that connect two points with a gap below. Both can cause problems if not handled properly.
To find these areas, check where parts extend beyond the base. For example:
- Overhangs with angles over 45 degrees might sag or fall without support.
- Bridges longer than 15mm can droop because of gravity, ruining the print.
If overhangs aren’t supported, layers might droop or prints may fail. Spotting these early helps you add supports for better results.
Tip: Use slicer software’s preview mode to see overhangs and bridges. This tool shows where supports are needed.
Using the 45-degree rule for supports
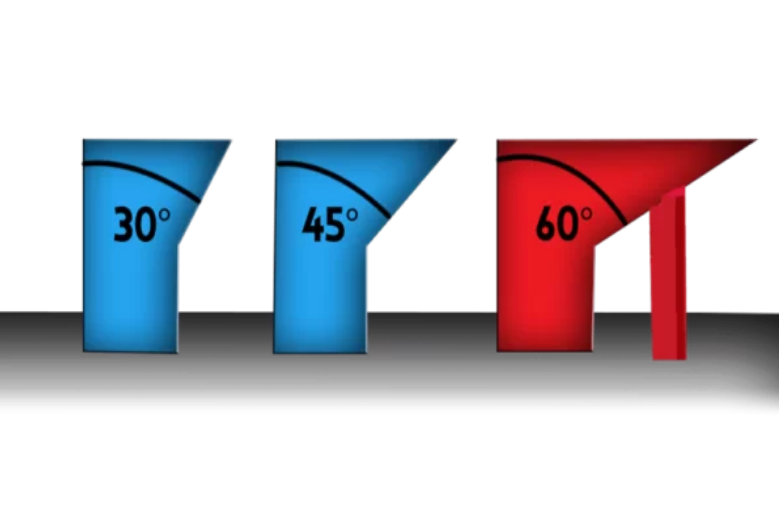
The 45-degree rule helps decide when to add supports. It says overhangs steeper than 45 degrees need support. Most printers can handle small overhangs without issues.
Here’s why this rule works:
- Overhangs up to 45 degrees stay stable by sticking to the layer below.
- Angles over 45 degrees lose grip, making them likely to fail.
For instance, a 60-degree overhang might print okay, but supports make it better. The table below shows how different angles affect strength:
|
Raster Angle |
Crack Growth Behavior |
Resistance to Failure |
|---|---|---|
|
0/−90° |
Cracks grew as expected in regular material |
High resistance to failure |
|
22/−68° |
Cracks followed the raster angle |
Medium resistance to failure |
|
45/−45° |
Cracks bent, absorbing more energy |
High resistance to failure |
|
0/90° |
Cracks had to go through grids, causing bending |
Low resistance to failure |
By using this rule, you can avoid extra supports while ensuring good prints.
Designs that need support structures
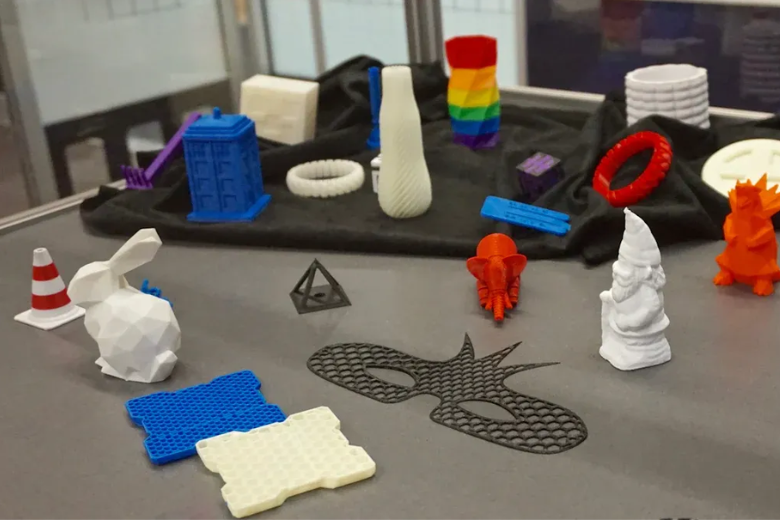
Some designs need supports because of their shape or details. Here are examples:
- Models with tricky overhangs: Steep angles or fancy details need supports to stay in shape.
- Bridges over 15mm: Long bridges without support can droop and look bad.
- Thin parts or fragile details: Thin walls under 2mm might break without extra help.
- Overhanging features: Parts like arms, wings, or anything sticking out need support.
For example, a model with a wide brim for sticking to the bed might also need supports for overhangs. Changing the model’s position can reduce supports, but complex shapes often need them.
Note: Always check your model in slicer software to find areas needing support. This step helps avoid missing important parts that could ruin your print.
Types of Support Structures in 3D Printing
Common support types explained (tree, linear, etc.)
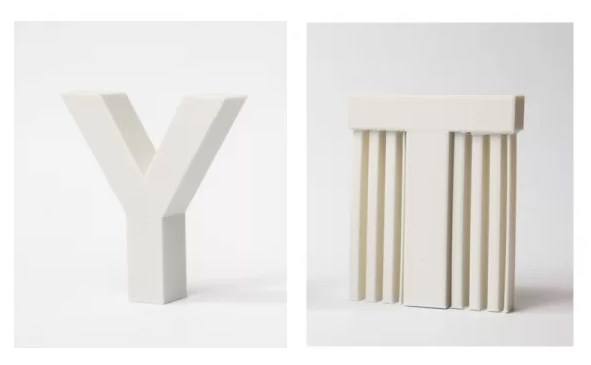
When adding supports to 3D prints, you’ll find different types. Each type is useful for specific designs. The most popular ones are tree supports and linear supports.
- Tree Supports: These look like tree branches holding up overhangs. They use less filament and are simple to remove. Tree supports are great for models with curves or fine details.
- Linear Supports: These are straight columns connecting the base to overhangs. They are strong but use more filament. Linear supports work well for flat or basic designs.
Other types, like grid or zigzag supports, offer different strengths and removal ease. You can find these options in slicer software like Cura.
Tip: Use tree supports for delicate designs and linear supports for stronger needs.
Pros and cons of support styles
Each support type has good and bad points. Knowing these helps you pick the best one.
|
Support Type |
Pros |
Cons |
|---|---|---|
|
Tree Supports |
Saves filament, easy to remove |
Not stable for big overhangs |
|
Linear Supports |
Strong, good for flat areas |
Uses more filament, harder to clean |
|
Grid/Zigzag Supports |
Balanced strength and easy removal |
May leave marks on prints |
Tree supports waste less material and suit detailed shapes. Linear supports are strong but need more cleanup. Grid supports are a mix of both, making them flexible.
Note: Think about your model’s shape when picking a support type.
Picking the right support for your project
The best support depends on your model and goals. First, check your model’s overhangs. For curved or detailed overhangs, tree supports are a good choice. For flat or simple overhangs, linear supports give better strength.
Also, consider filament use and removal effort. Tree supports save material and are easy to remove. If you need more strength, linear supports are better. Grid supports are a good middle-ground for most designs.
Tip: Try different supports on small models to see what works best for your printer and material.
How to Generate Supports for 3D Printing
Steps to Add Supports in Cura
Cura is a popular tool for 3D printing. It helps you easily add supports to your models. Follow these simple steps to create supports in Cura:
- Load your model: Open Cura and click "Open File" to import your model.
- Choose printer and material: Pick the right printer and filament in the settings. This helps Cura calculate supports correctly.
- Turn on supports: In "Print Settings," check the "Generate Support" box. Cura will find overhangs and add supports automatically.
- Preview supports: Go to "Preview" to see where supports are placed. Use the layer view to check how they fit your model.
- Adjust settings: Change support settings if needed to save material or improve placement. You can tweak density, pattern, or overhang angle.
- Slice and save: When ready, slice the model and save it to your printer's storage.
Tip: Always preview supports before printing. This helps avoid extra supports and improves print quality.
Changing Support Settings for Better Prints
Changing support settings can improve print quality and save material. Cura has options to help you adjust supports for your needs:
- Support density: This controls how solid supports are. Lower density uses less material but may not hold large overhangs well. Higher density gives stronger support but uses more filament. Start with 15-20% density.
- Support pattern: Choose patterns like grid, zigzag, or lines. Zigzag is easier to remove, while grid is stronger. Pick the one that fits your model.
- Overhang angle: This decides where supports are added. Cura uses the 45-degree rule by default. If your printer handles overhangs well, increase the angle to reduce supports.
- Support placement: Choose "Everywhere" or "Touching Buildplate." "Everywhere" adds supports to all overhangs. "Touching Buildplate" only supports areas connected to the bed. Use "Touching Buildplate" for simple models to save material.
Note: Test these settings on small prints to find the best setup for your printer.
Using the 'Support Blocker' for Manual Control
Cura’s "Support Blocker" tool lets you control where supports go. It’s great for protecting delicate parts or avoiding unnecessary supports. Here’s how to use it:
- Turn on Support Blocker: Right-click your model in Cura and select "Add Support Blocker." A small cube will appear.
- Move the blocker: Place and resize the cube over areas you don’t want supports. Use the toolbar tools to adjust it.
- Add more blockers: Add extra blockers if needed to cover other areas. This ensures supports only go where necessary.
- Check changes: Go to "Preview" to see how supports have been adjusted. Make sure blocked areas are clear.
- Slice and save: Once happy, slice the model and save it for printing.
Tip: Use the Support Blocker to protect details and reduce cleanup after printing.
By following these steps, you can make supports that are easy to remove and fit your model well. This saves material and improves print quality.
Optimizing Support Usage for Better Prints
Saving filament by placing supports wisely
Placing supports smartly saves filament and cuts print time. Always check your model to see where supports are really needed. Focus on steep overhangs or long bridges. Don’t add supports to flat areas or parts that can print fine without them.
Use slicer software’s preview mode to spot overhangs needing support. Change the model’s angle to reduce overhangs that need help. For example, tilting the model a bit can lower the need for extra supports. This small change saves material and makes cleanup easier.
Tip: Choose "Touching Buildplate" in slicer settings. This makes supports only touch the print bed, saving filament.
Improving prints by adjusting support density
Support density affects how good your prints look. Higher density gives stronger support but uses more filament. Lower density saves material but might not hold heavy overhangs well. Start with 15-20% density and adjust as needed for your model.
Try different support patterns like zigzag or grid. Zigzag is easier to remove, while grid gives more strength. Pick the one that works best for your project’s needs.
Note: Adjusting density and pattern helps overhangs stay stable and reduces cleanup.
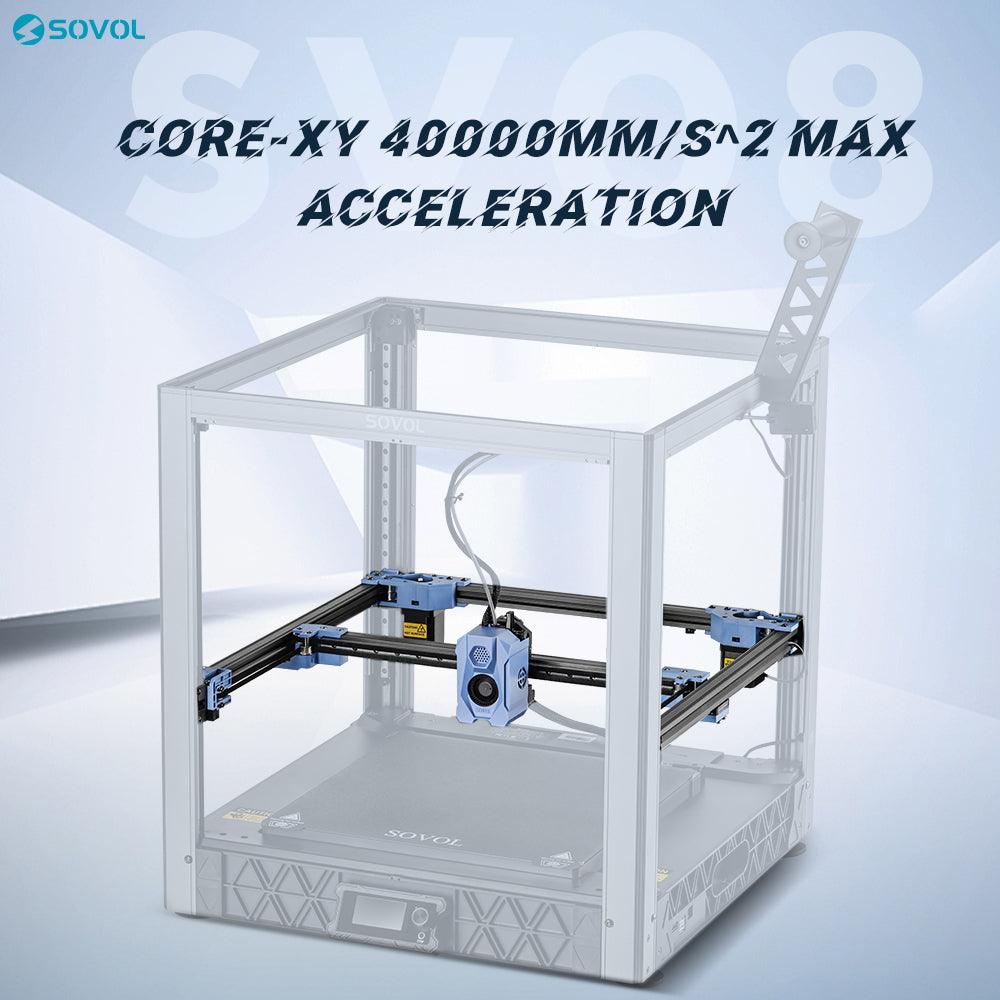
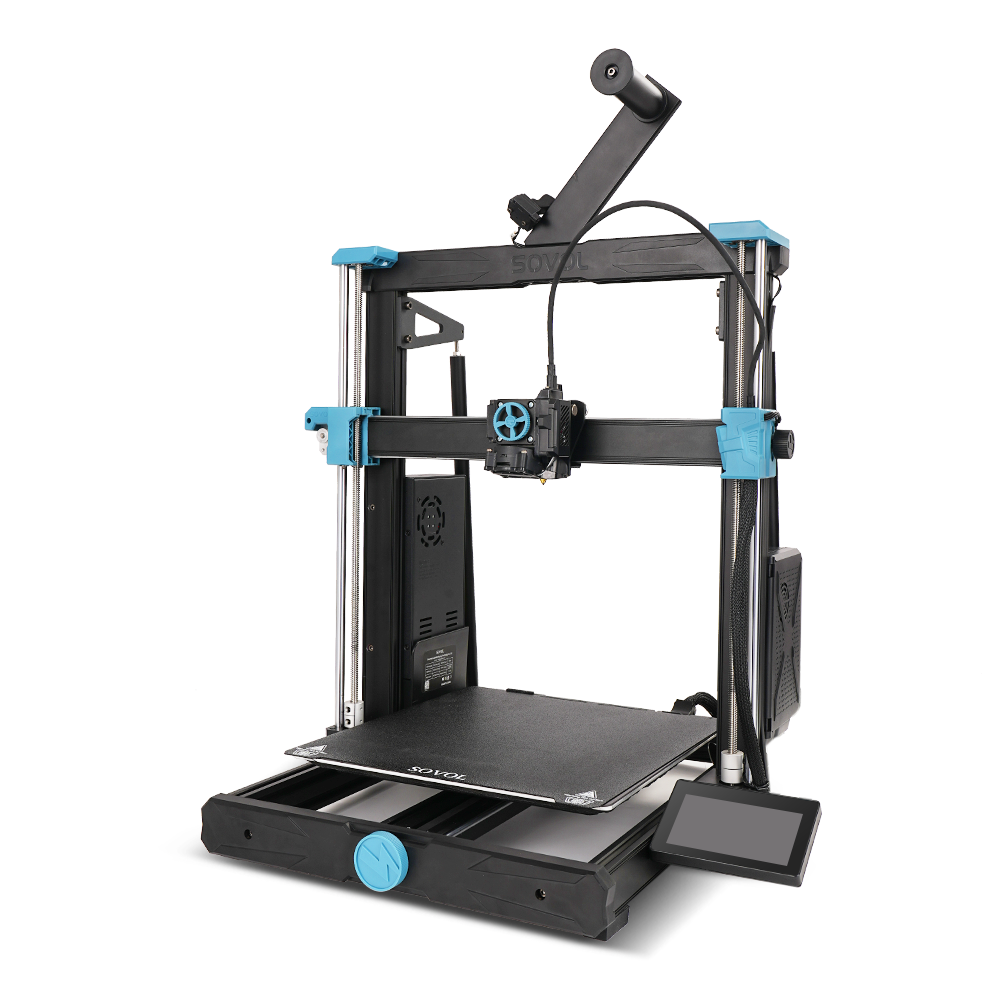
Using Sovol printers for easier support setup
Sovol printers make adding supports simple with helpful features. They handle overhangs well, so you need fewer supports. Their precise control makes supports easy to remove without harming your print.
With a Sovol printer, use its advanced slicer settings. Change the overhang angle to match what the printer can handle. This reduces extra supports and improves print quality.
Tip: Sovol printers work great with tree supports. These save filament and are easy to remove.
Troubleshooting Support-Related Issues
Removing supports cleanly without damaging your print
Taking off supports can be hard, but the right tools help. Use tools like a small knife or pliers for careful cutting. These tools let you remove supports without breaking your model. Adjust the Z-distance in slicer software to make supports easier to detach. This setting adds a tiny gap between supports and the model.
For easier removal, try using dissolvable supports like PVA or HIPS. These supports melt away in water or special solutions, leaving your print smooth. If using regular supports, gently heat them with a heat gun. This softens the material, making it safer to remove without breaking fragile parts.
Tip: Take your time when removing supports to avoid scratches or breaks.
Addressing support marks and rough surfaces
Support marks can make your print look messy. To fix this, sand the rough spots with fine sandpaper. Start with a rough grit, then use finer grits for a smooth finish. Sanding helps remove marks left by supports.
If sanding doesn’t work, lightly heat the surface with a heat gun. This melts rough areas and blends them into the model. For PLA prints, use a little acetone on a cotton swab to smooth marks. Always test these methods on scrap pieces first to avoid ruining your print.
Note: Good slicer settings can prevent marks. Lower support density and use zigzag patterns to reduce contact with the model.
Avoiding unnecessary supports through better design
You can use fewer supports by improving your model’s design. Follow the 45-degree rule to avoid steep overhangs that need supports. For long bridges, split them into smaller parts or add built-in supports.
Rotating your model in slicer software can also help. Changing the angle might reduce overhangs that need supports. If designing from scratch, add slanted edges or rounded corners. These features give natural support and make prints stronger.
Tip: Always check your model in slicer software to spot areas needing supports. Fixing the design early saves time and material.
Knowing how to use supports is key for good 3D prints. Supports hold up overhangs and tricky designs, keeping prints neat. Trying different settings helps you learn what works best. This practice also helps you waste less material.
Getting better with supports lets you make detailed, high-quality prints. With time, you’ll feel ready to handle tough designs and get great results.
FAQ
What happens if you don’t use supports for overhangs?
Without supports, overhangs can droop or completely fail. Layers won’t stick well without a solid base. This leads to messy or unfinished prints. It can ruin your model and waste filament. Always check for steep angles or long gaps needing support.
Can you reuse filament from removed supports?
No, you can’t reuse filament from supports as-is. Once printed, the filament changes and can’t be reprinted. But you can recycle it with special machines. You could also use it for crafts or small projects like prototypes.
How do you reduce the time spent removing supports?
Use tree supports or lower density in slicer settings. These make supports easier to take off. Adjust the Z-distance between supports and the model. This adds a gap, making removal faster and safer for your print.
Are dissolvable supports worth using?
Yes, dissolvable supports like PVA work well for tricky designs. They don’t leave marks and make cleanup easy. But they cost more and need dual-extruder printers. Use them for detailed models where regular supports might cause damage.
How do you know if your printer can handle overhangs?
Try printing an overhang test model. These models have angles that get steeper. They show how well your printer handles tough overhangs. If prints fail at certain angles, add supports or change slicer settings to fix it.


Hagyj egy megjegyzést
Az összes megjegyzés moderálódik, mielőtt közzéteszik.
Ezt a webhelyet a hCaptcha rendszer védi, és a hCaptcha adatvédelmi szabályzata, valamint szolgáltatási feltételei vonatkoznak rá.